In Search of a Style
/A Joyous Event
“Mum, we would really like you to make our wedding clothes for the evening banquet of our wedding, would you mind?” What a lovely request that is to hear. Of course I did not mind, even though the wedding was to be in less than 5 months and we had not even discussed fabric or styles yet!
The next few posts on my somewhat interrupted blog will be about the wedding outfits that I made between November 2019 and March 2020. There were three full outfits in the end and I will describe the design process and making of each one. The reason for the delay in posting about these three suits of clothes, all of which I am very proud of, is - of course - COVID 19. Fortunately, the bride and groom were able to have a very small day-time wedding ceremony on the day planned. The evening banquet where the outfits were to be worn, however, was cancelled. Since the outfits were finished only days before the planned wedding and the wedding immediately preceded the complete lockdown in Scotland, there was no opportunity to get together to take photos and discuss whether the details of the “secret” outfits could be made public before the delayed evening banquet was finally held.
Ladies First
The first of the three outfits that I started to make was for my future daughter-in-law, Hazel. She already had some silk brocade fabric, which she had acquired previously while participating in the Kentwell Manner Tudor Re-enactment event. This silk was a fantastic orange and gold colour, slightly stiff and a good thickness. A great fabric for the forepart of a Tudor gown.
The silk brocade
The first thing that I always do, before setting about researching a set of clothes, is to try to get as much information about what concepts and ideas the recipient has in their heads. What do they really want? Time period, style, colours, indeed what fantasy is going around in their mind, even if they don’t know its there! This is then followed by a sketch using the colours and shapes that we have discussed. Then the research begins - what styles are shown in paintings that resemble the sketch? Where can I get inspiration for details such as closures, stiffening, decoration? Do I have any relevant pattern books or information on extant garments that resemble the sketch?
After an hour of conversation, it became clear that what Hazel had mind were colours (orange, gold and a sapphire blue) and a wish for a vaguely Tudor outline - any time from 1530 to 1600. Now, that does not sound like long time period when you consider the whole of documented history in the British Isles but to a costume maker its is a very long time! It spans several very distinct women’s styles, including farthingales, the start of corsets, and so much more!
Finding a Style
With such an open brief, how do you go about finding a style? The key thing here is that it is for a wedding - so what will her husband be wearing? Luckily, my son Rowan had no ideas about colour but had a very strong idea about style and time period for his costume. He wanted pluderhose - a form of breeches that were popular in Germany in the mid-16th century. Progress! Hazel agreed that mid-16th century European styles would be acceptable, but could we add a black English Gown over the top? Fortunately the name “English” gown is somewhat misleading, since they seem to have been worn across Europe in the second half of the 16th Century. Now we were narrowing things down! Now I looked through the various books that I have, the Tudor Tailor being amongst the most useful of course, and at various image searches on the internet. You have to be careful when using internet searches not to get mis-labelled images, modern interpretations and other anachronisms. However, there started to be a consensus emerging.
On the whole, we were jointly heading towards the orange and gold fabric on the bodice and forepart, with a sapphire blue skirt. The bodice would be stiffened and conical in shape but with a shallow, rounded point at the waist - not the deep V-shape of the later Elizabethan styles. Here are some of the paintings that I used for inspiration.
Woman in a Red Dress - Giovani Battista 1560
Portrait of a Lady - Jacopo Zucchi 1560
London Gentlewomen - Lucas De Heere 1547
Womens’ Fashion - Lucas De Heere 1570
Underpinnings and Silhouette
The similar shapes in the images above are all generated by the underclothes - often called underpinnings due to the structure that they impart to the clothing. The key features appear to be a straight, smooth bodice front and conical upper body shape; a minimal hip increase and a reasonably vertical skirt shape. This can be compared with the wheel farthigale for extreme hip extension, the Spanish farthigale to make the skirt into a wide cone and the early kirtle which provided less flattening support to the bust.
We decided that around 1560 was the target date, that the bodice would be very structured (smooth) and would have a shallow curve at the front. We opted for cartridge pleating and underskirts to give the skirt shape. We agreed that a small bum roll would help the soft satin of the skirt to fall well.
The biggest decision that we made was whether to produce a stiffened bodice or a soft bodice with a “pair of bodies” beneath. In the mid-16th century, it is unclear how the smooth body shape is achieved. Some early reference to “bodies” do exist but surviving garments as underpinnings have not been found from that early. In the end, practicality became the driving factor instead of authenticity. A good “pair of bodies” (also called stays and corsets later in history) could be used under other costumes in the future.
The style of “bodies” that we chose were short-waisted, with no tabs/peplums around the bottom and a simple square neck shape. They are not heavily boned, since Hazel’s previous re-enacting did not include wearing “bodies”, only tight-fitting kirtle bodices. However, they give that classic upper body shape associated with the 16th century. There will be more details on the construction of the “pair of bodies” in the next post.
And the Rest
A new dress is so much more than just a date and its silhouette (which the underpinnings create). One common factor in kirtles of the mid-16th century is the wide, square neck-line. Sometimes more square than others, sometimes more than wide that others. Some dresses had ornamentation, while others let the expensive fabric do the talking. And all paintings show different designs on the sleeves, around some common themes. So now I get to be creative! In discussion with Hazel, I suggested that we let the orange and gold brocade reign supreme - use it without ornamentation and, indeed, use it as ornamentation, contrasting the texture and colour with the smooth satin - which, by the way, had not been bought yet so neither of us had a good mental image of what it would look like just a hope that it would go as well as we imagined.
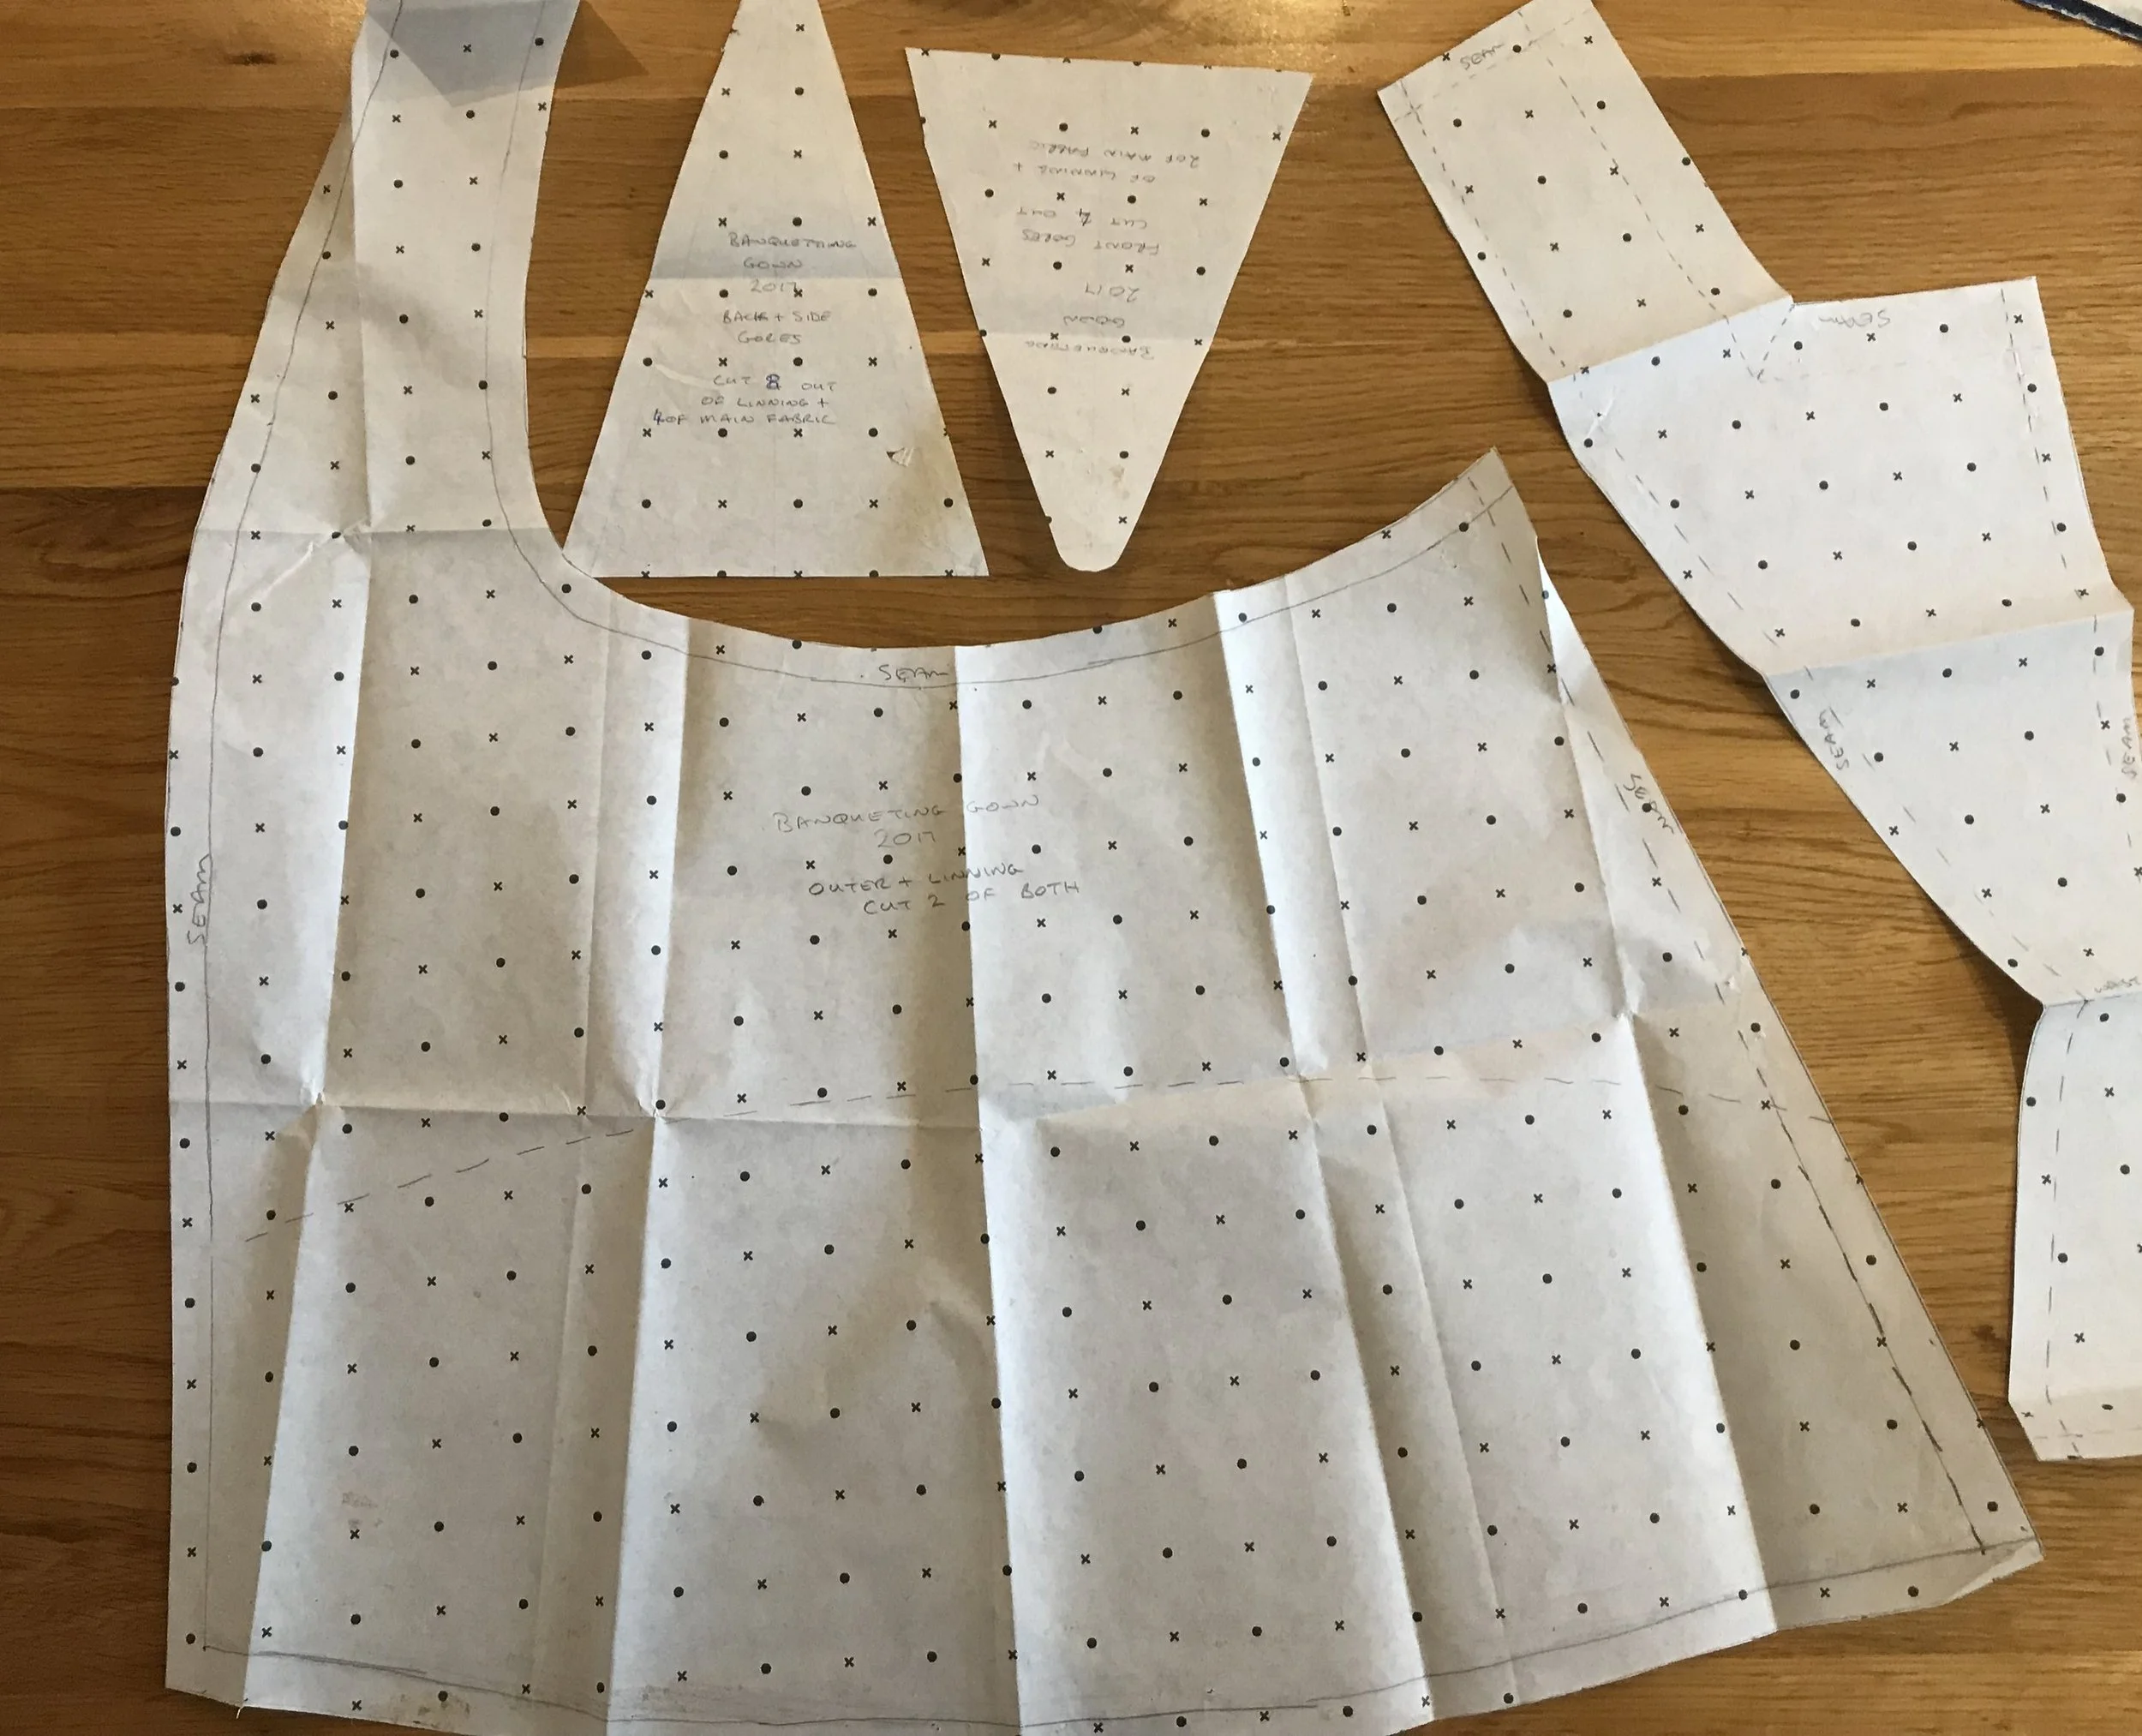
Hazel preferred a horizontal neckline that would be wide but not overly so, instead of the curved necklines that seem to disappear under the arm. We agreed on partially attached sleeves - they have a gap under the arm that opens up when you move to show the shift underneath and were an alternative to fully separate sleeves that tie on. We both liked the puffed sleeves in the painting by Battista, so that was easy. Hazel did not want the skirt to trail on the ground - so no train - making the skirt shape a rectangle of blue fabric with a wedge-shaped front section that holds the skirt out from the feet.
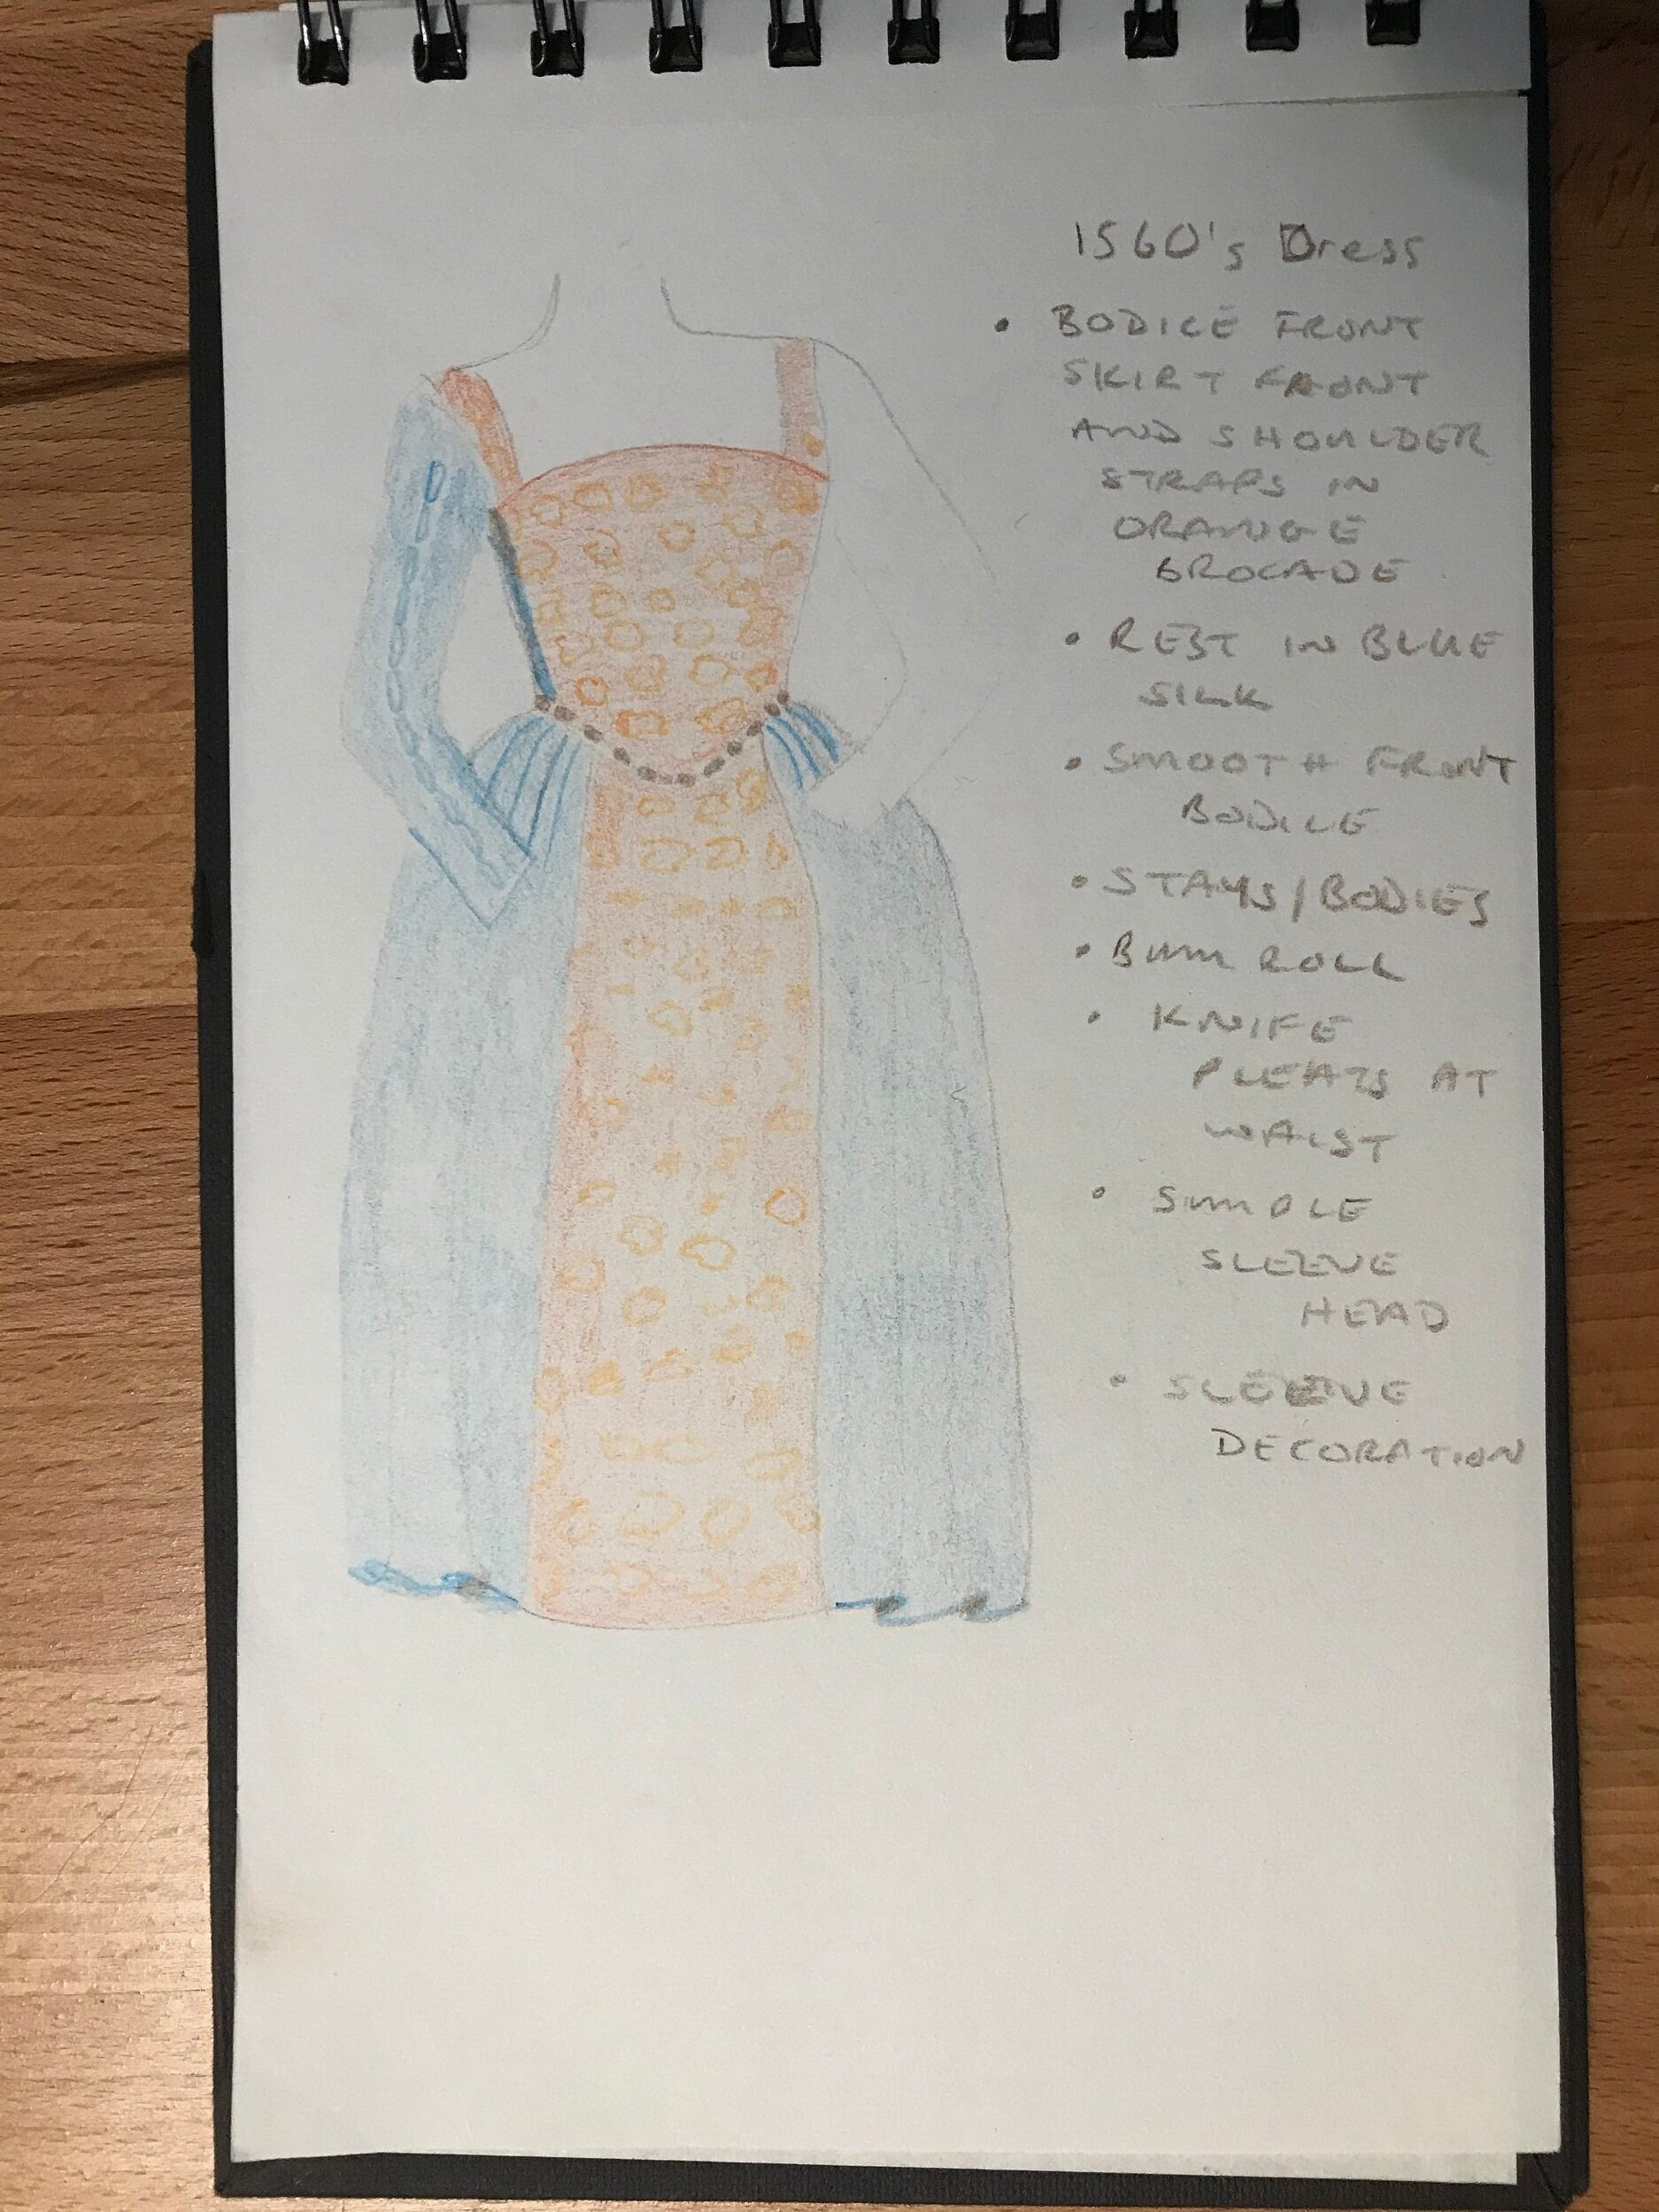
That was what we imagined, on several cold evenings in November. Here is the sketch that we came up with from that design development process. The sketch was drawn in November 2019, before the blue satin had been found and bought by my husband, on a work trip to India, in December. Feel free to compare it to the final dress shown in the photo below, where the dress was completed in March 2020 and the photo taken in June 2020.
In the next post in this series, I will talk in more detail about making the dress, the construction techniques, the compromise between authenticity of construction and the need to make a large amount of costume in a short time. In further posts, I will talk about the design and making of the groom’s outfit and that of one of the two best men.


