
A medieval surcote
/While at a re-enactment traders market this year, there was quite a lot of interest in 13th and 14th century costume. It seems there are a few new groups getting going in Scotland and some more experienced people looking to improve their kit.
This week’s blog is about a commission that I took as a result of the market. It is a late 13th century surcote to be worn over a gambeson (a heavily padded jacket) and chain mail but underneath the sword belt and other weapon belts. The purpose is to declare who the armed and helmeted knight is by their colour combinations.
Related to surcotes are tabbards. The tabard is short and often has the full coat of arms on front and back. The surcote is longer, mid-calf length and often simpler in design. The main thing about the surcote is that it must not impede horse riding or fighting, which many styles of long garment would.
When I was researching surcotes, I could not find many pictures or paintings of original versions that look like the modern re-enactors version. So I went with a style harvested from the best looking modern photos. This comprised:
a wide neck hole that is pulled over the head, not opened and fastened again
large arm openings at the sides
shoulders narrower than the chest width
the skirt part split front and back but the sides closed - to allow easy walking and riding
the side seams extended by gores (triangular inserts) to allow the skirts to flow nicely around the legs.
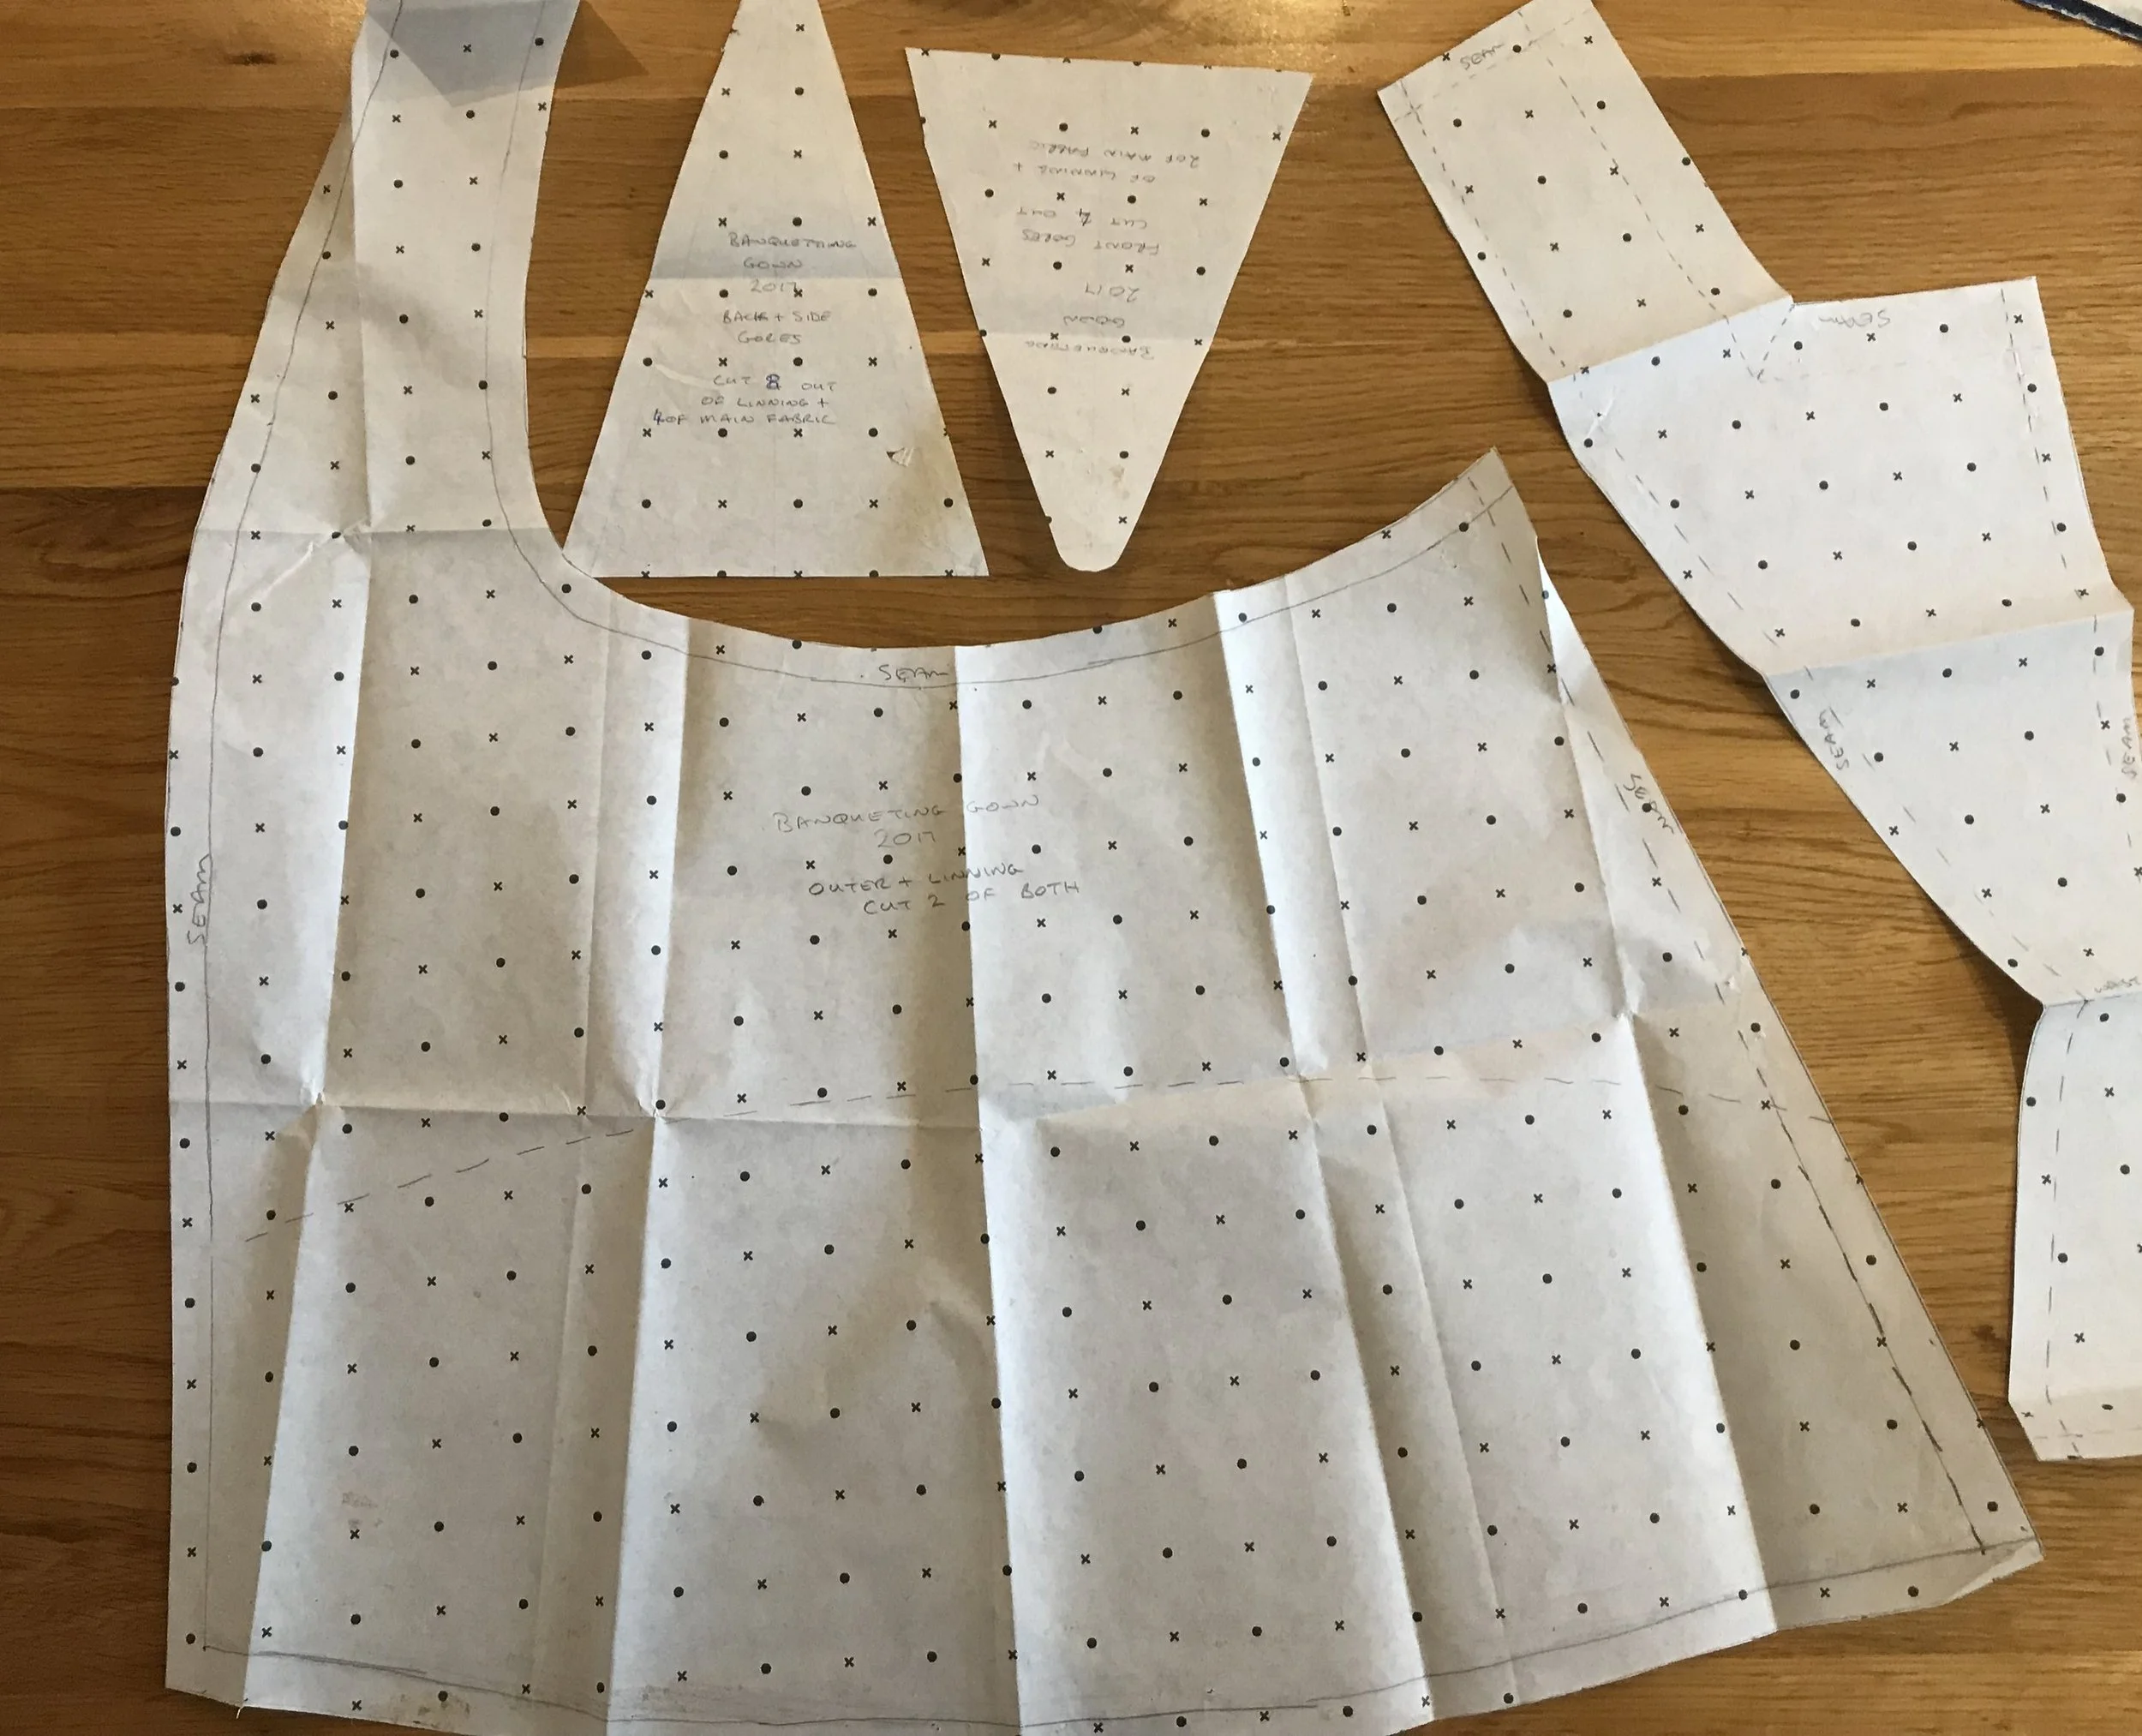
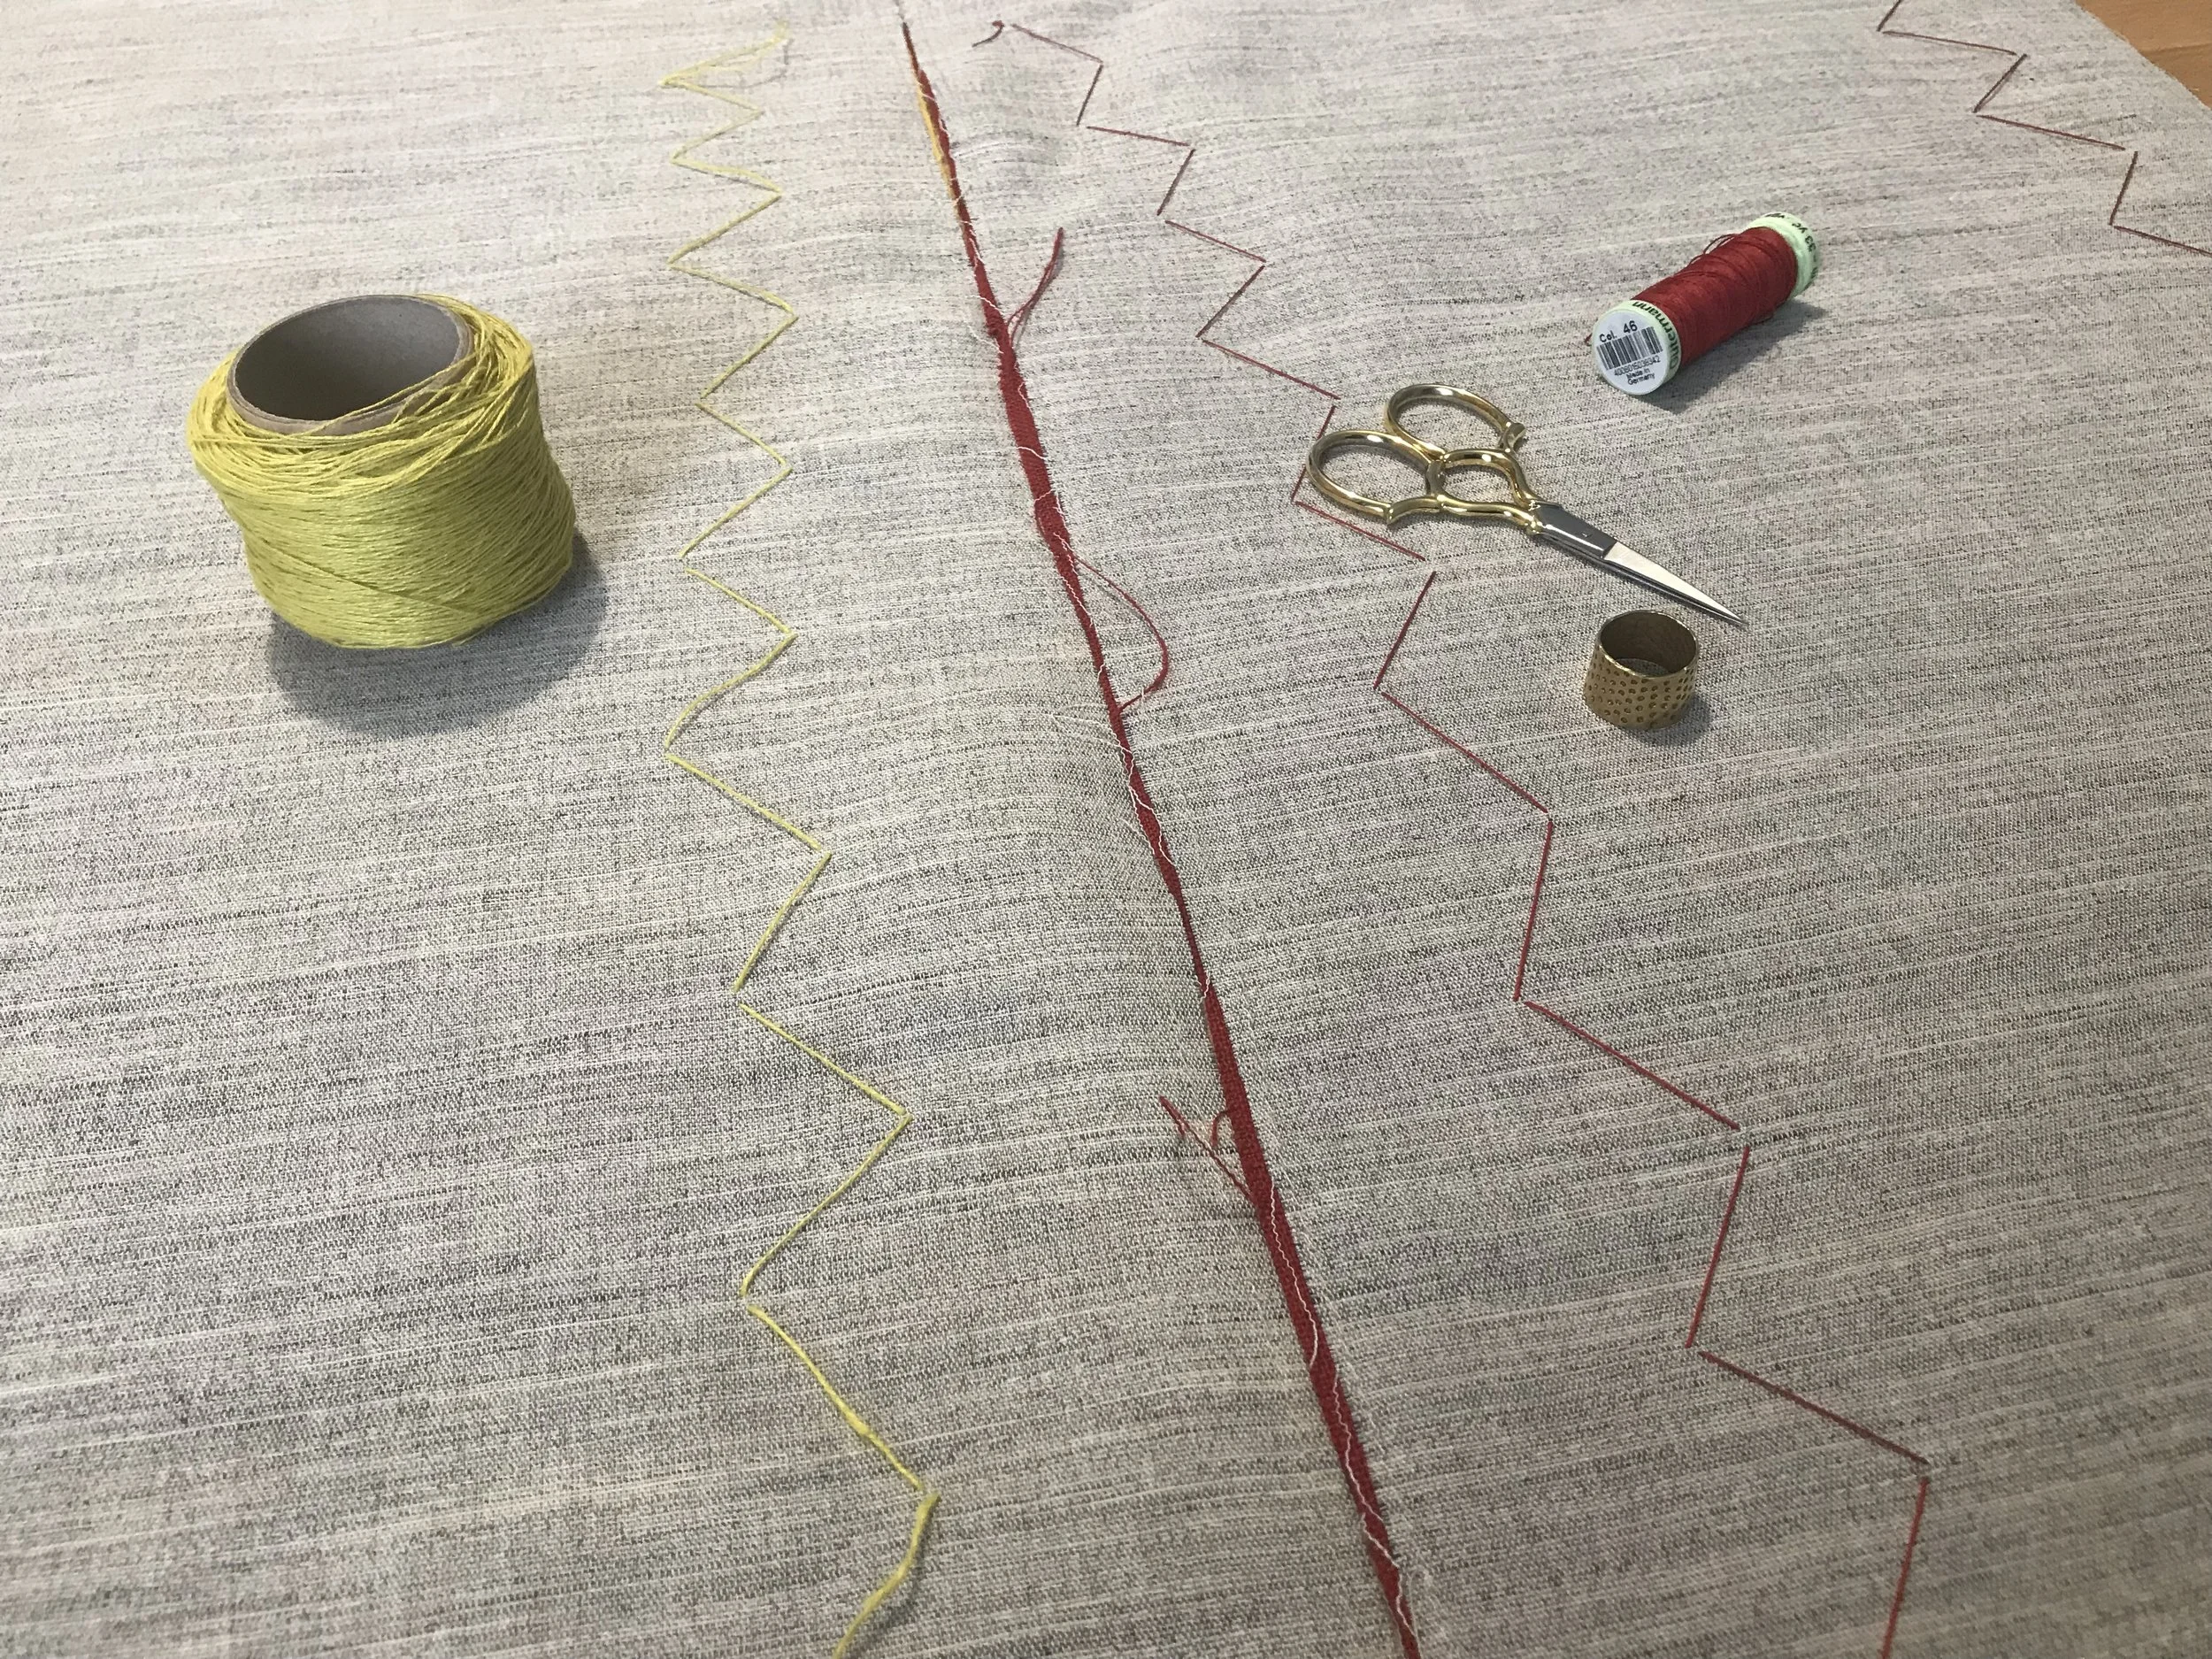
Although this is a very simple shape I decided to make a paper pattern of the top front and back and the gores. This was to ensure consistency of cut since every panel was cut separately.
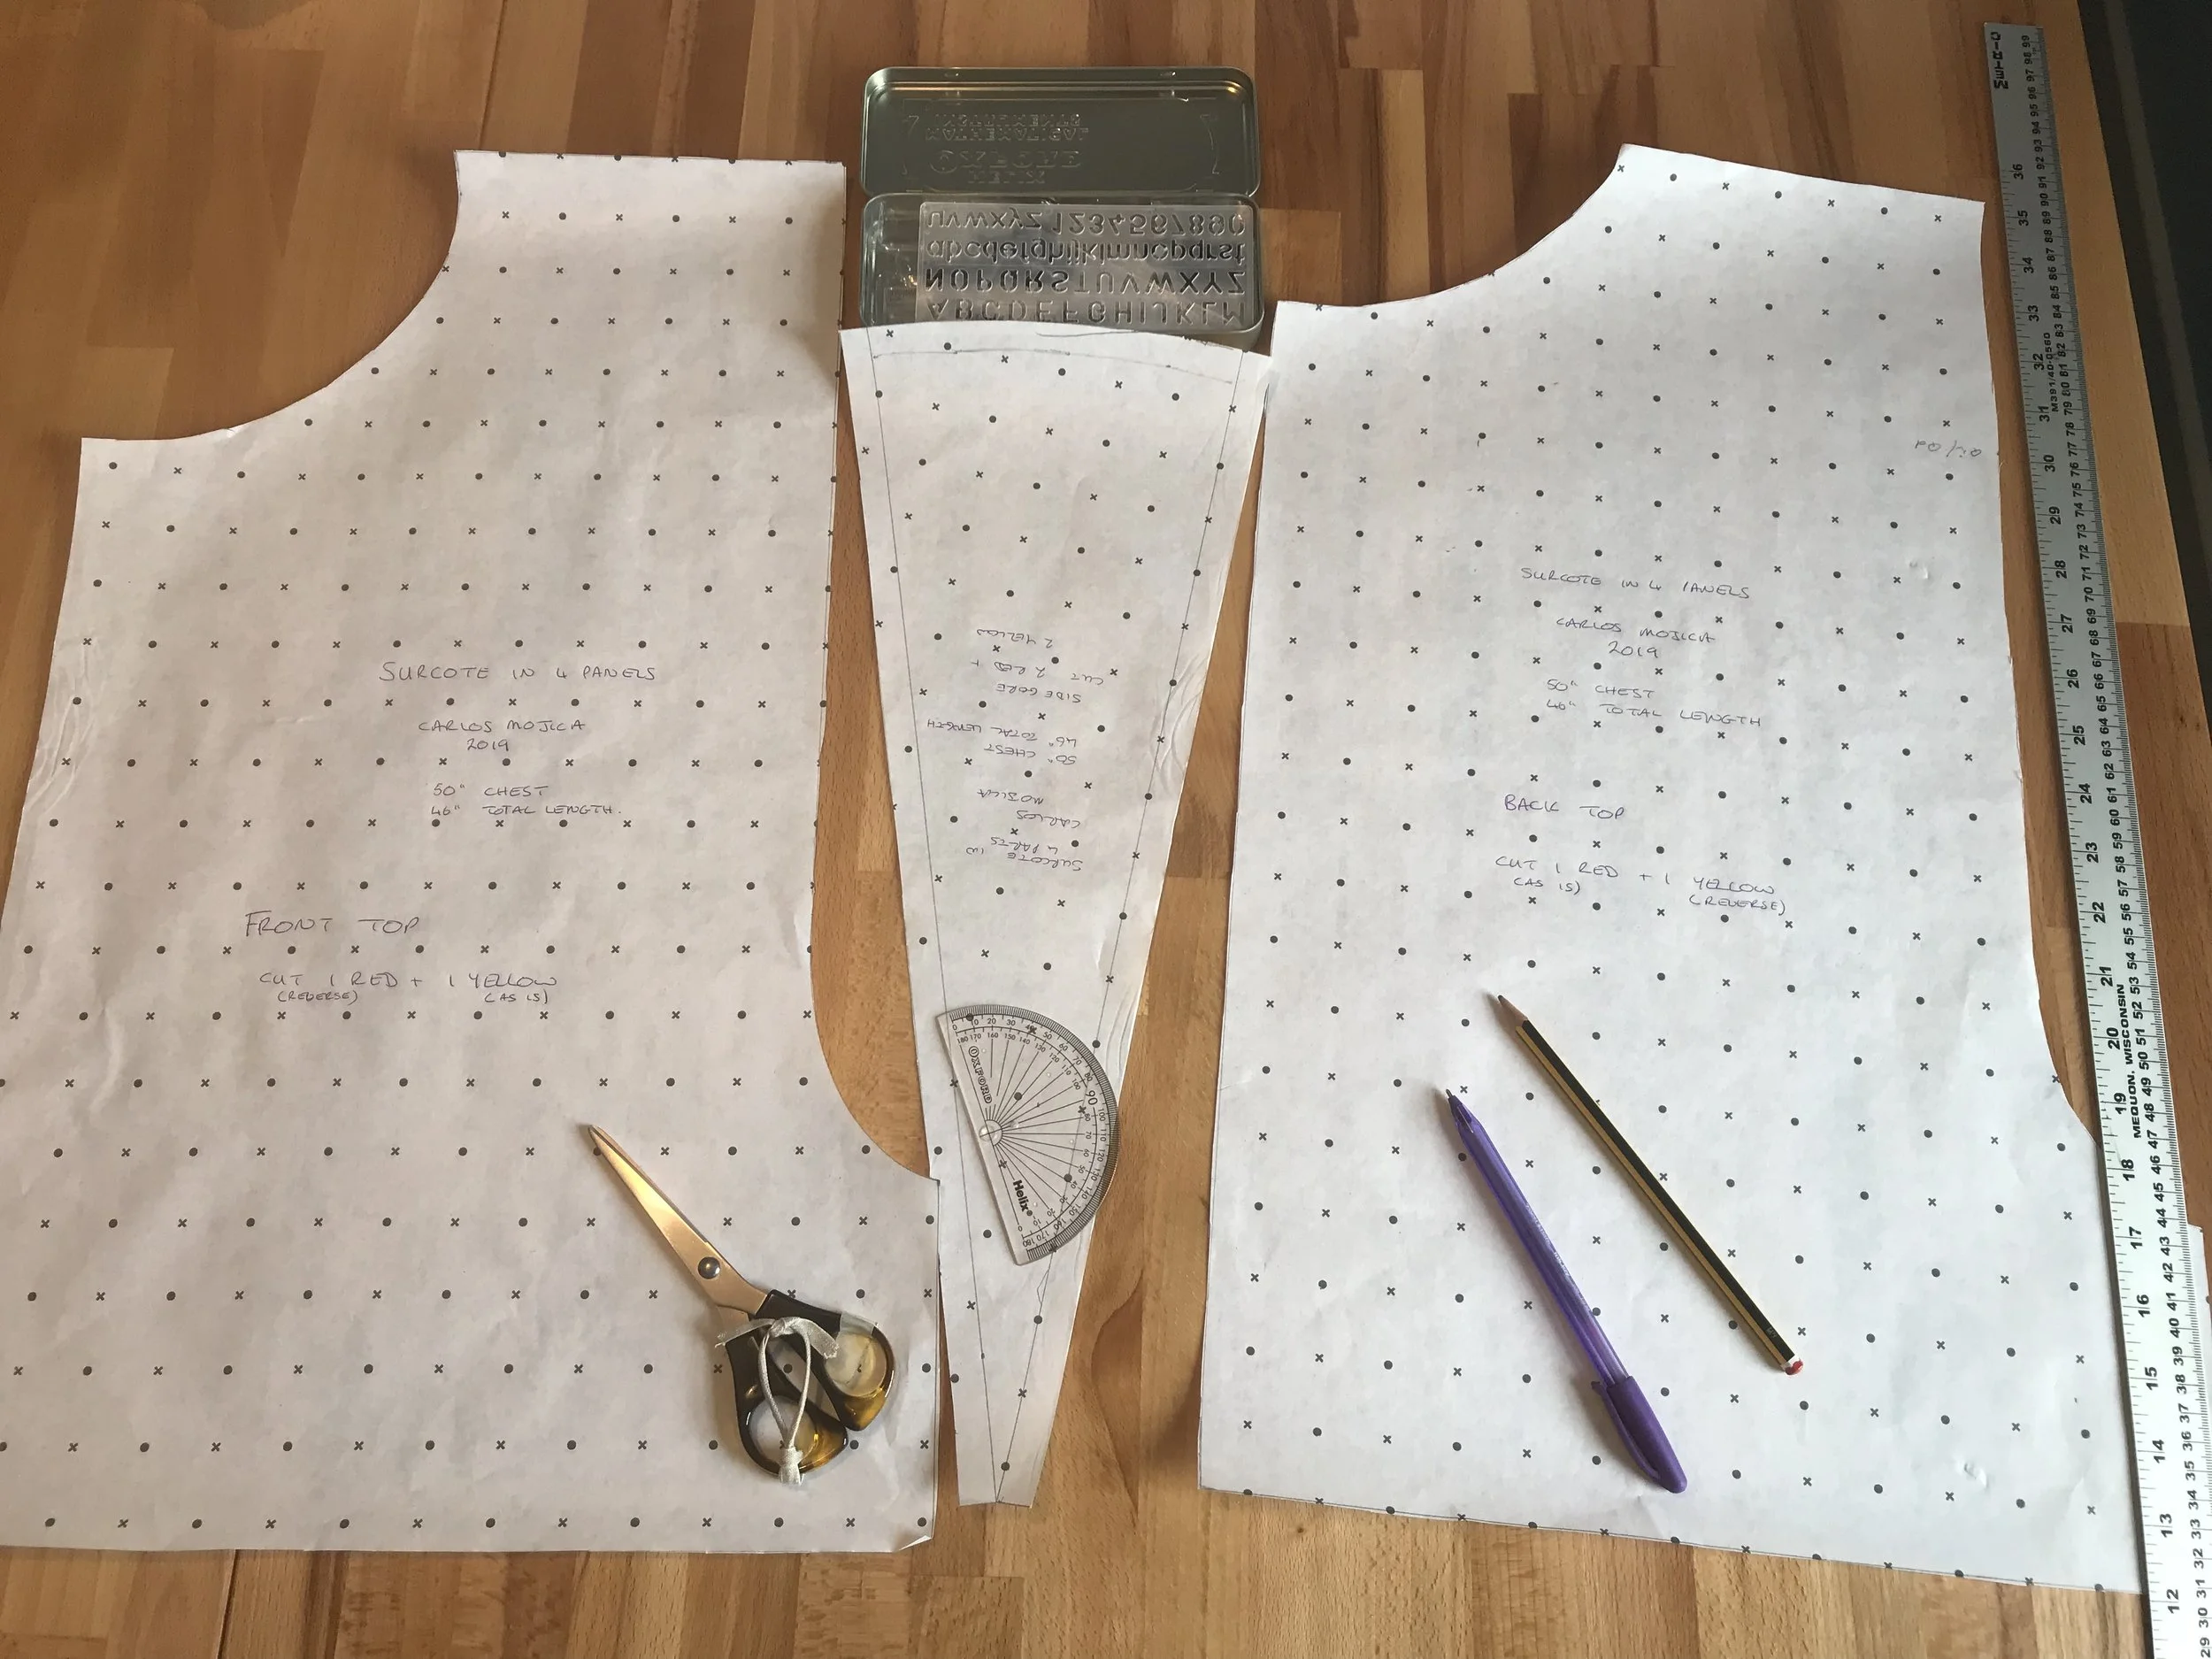
Although a simple shape I made a pattern for the top pieces and side gores
The client wanted his colours of red and yellow to be quatered on the cote. When ordering the fabric, the published width was a few inches too narrow to lay all the pieces in each colour side by side. When it arrived and I measured it - guess what - it was just wide enough to get everything in one strip. A saving to the customer and some beautiful linen into store for me! That meant hardly any wastage (called cabbage) which was ideal.
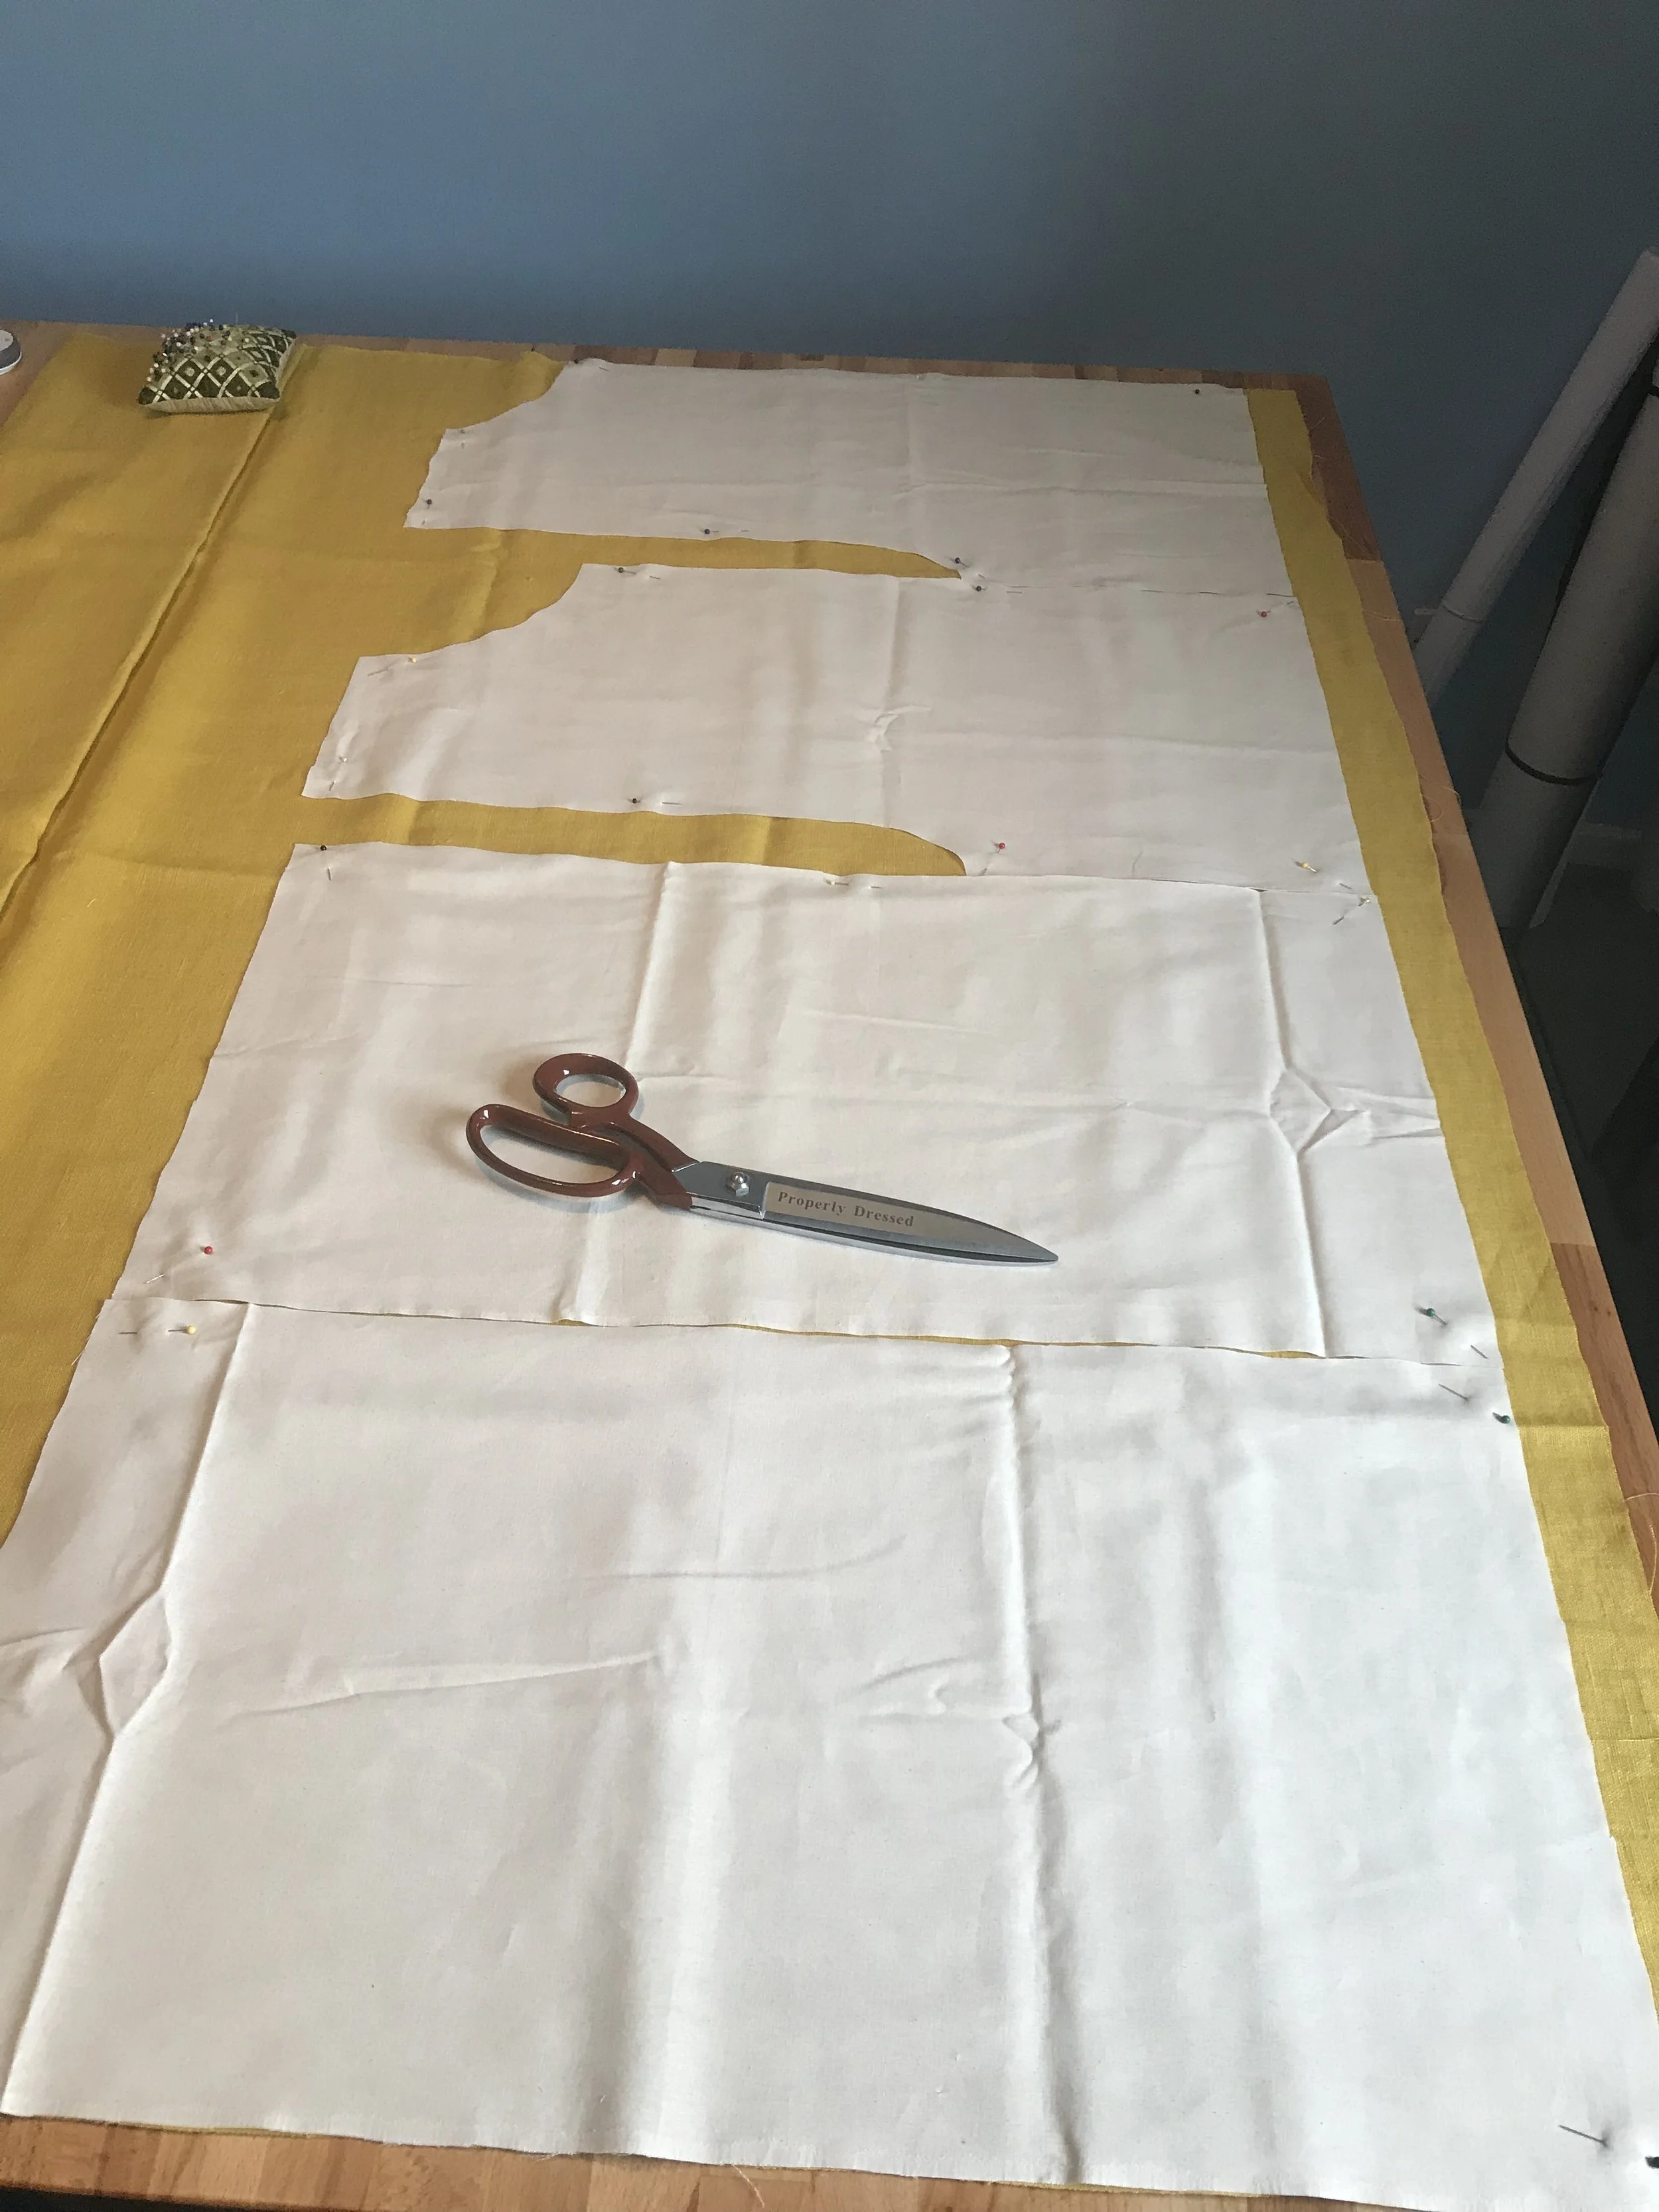
The linen was 3” wider than advertised so all the pieces fit across one width.
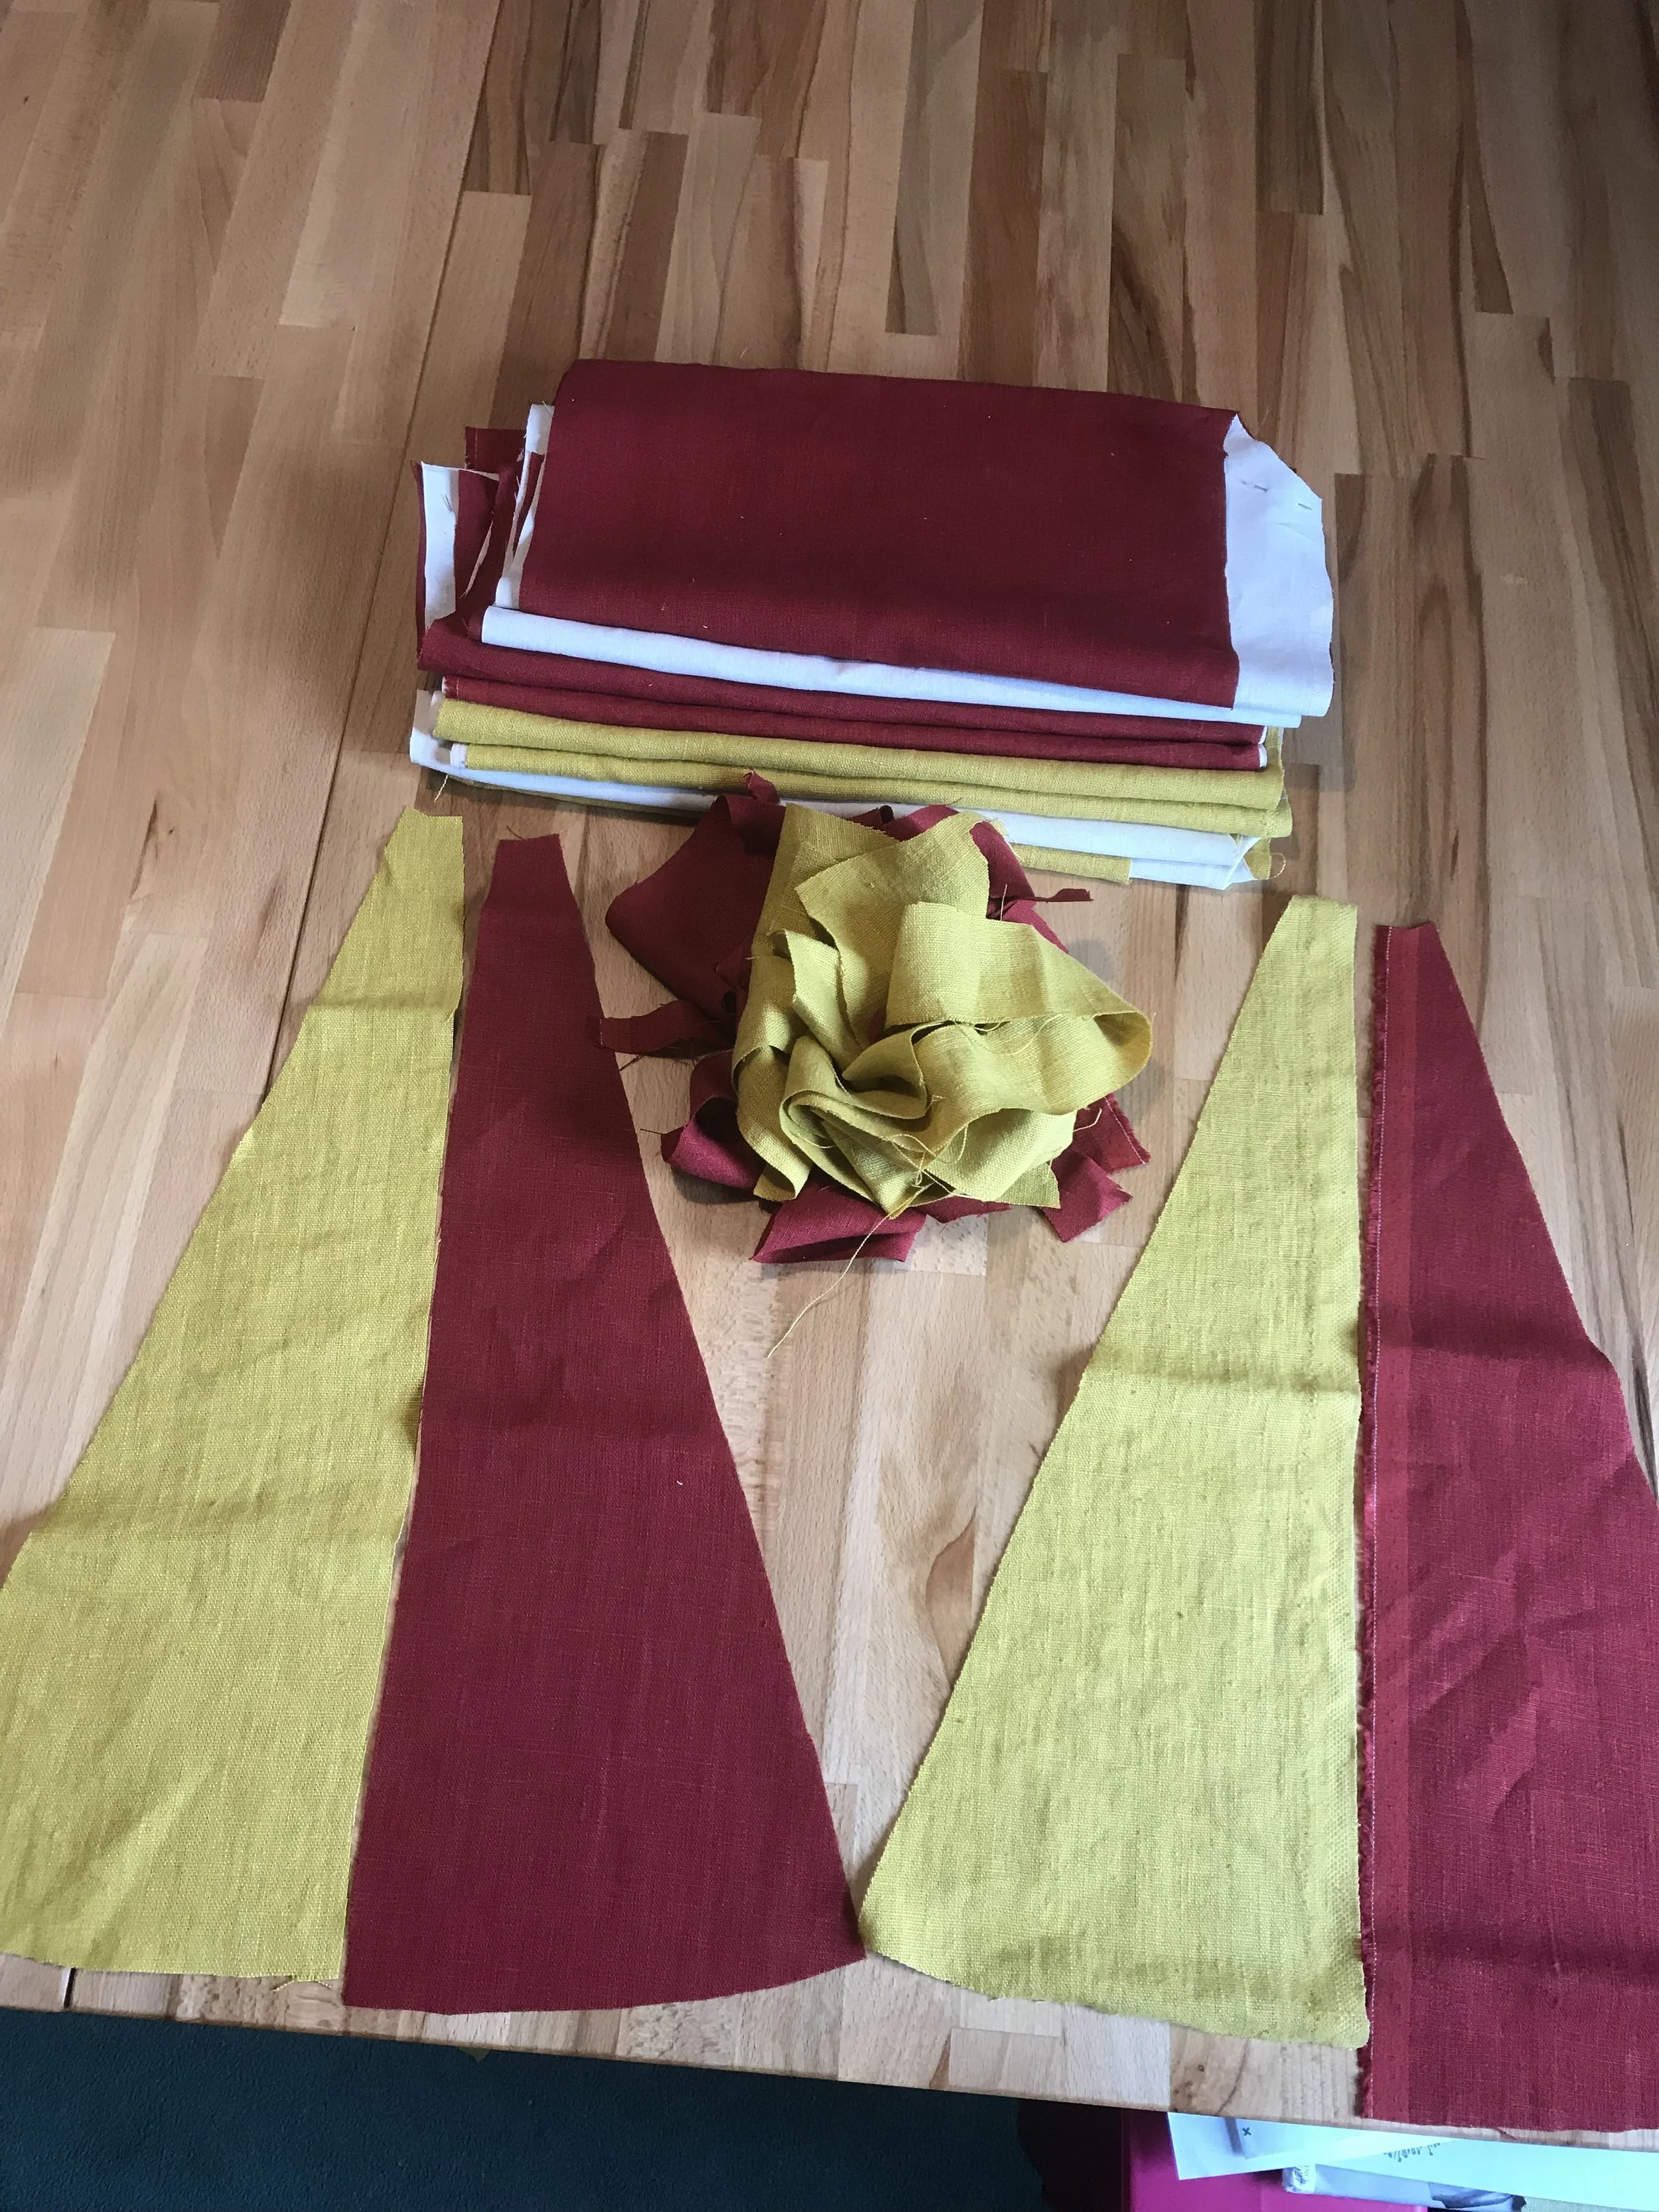
All the pieces ready to sew. The small bundle is the only left over scraps called “cabbage” by tailors
I made up the lining for a fitting with the customer wearing his gambeson and chain mail. At the fitting, no changes were needed to the size or length but I decided to change three elements of the construction design. We also agreed to extend the “armholes” all the way down to the waist quarter line for putting on and taking off more easily in armour.
Giving Strength Where None Exists
Firstly, I decided that an interlining between the coloured linen and linen lining was needed. This could be stitched to the outer fabric using a form of pad stitching to hold the outer linen still in areas where belts would tend to push it around. Hopefully this will strengthen the outer linen against wear. The interlining is only in the top sections leaving the skirt area lighter and more able to move freely when walking and fighting.

The interlining being pad stitched to the outer linen for strenth
Pad stitching - tiny stitches on the outside that hardly show but hold the outer linen in place
Resisting Wear
The second change was the design of the neck. Originally I had planned to turn the inwards layers like all the other edges. Seeing the lining being worn, however, I decided to bind the edge with tape instead for added protection from the rubbing of chain mail and possibly helmet collars.

The bound collar
Resisting Tearing Forces
The third change comes from one of the things I look for in my engineering work, that is points of stress that would tear materials (steel, plastic, etc) apart. In the fitting, I identified that the extended armholes, with the quartered design, provided just such a point around the waist where all of the quartered sections come together. The only thing holding the whole garment together around the waist was the four seams at the join the yellow and red fabric, top and bottom, front and back.
Having puzzled over this for a short while, I decided to sew a continuous band of webbing tape all the way around the waist, overlapped where the tape ends. The tape is sewn to the seam allowance that sits between the outer/interlining and lining fabrics, as shown in the photo. Then the lining seam allowance, also visible in the photo, was stitched to the tape as well, so that the lining would not ride up or separate from the outer fabric at that point. I feel this has added a degree of robustness to an otherwise weak set of seams.
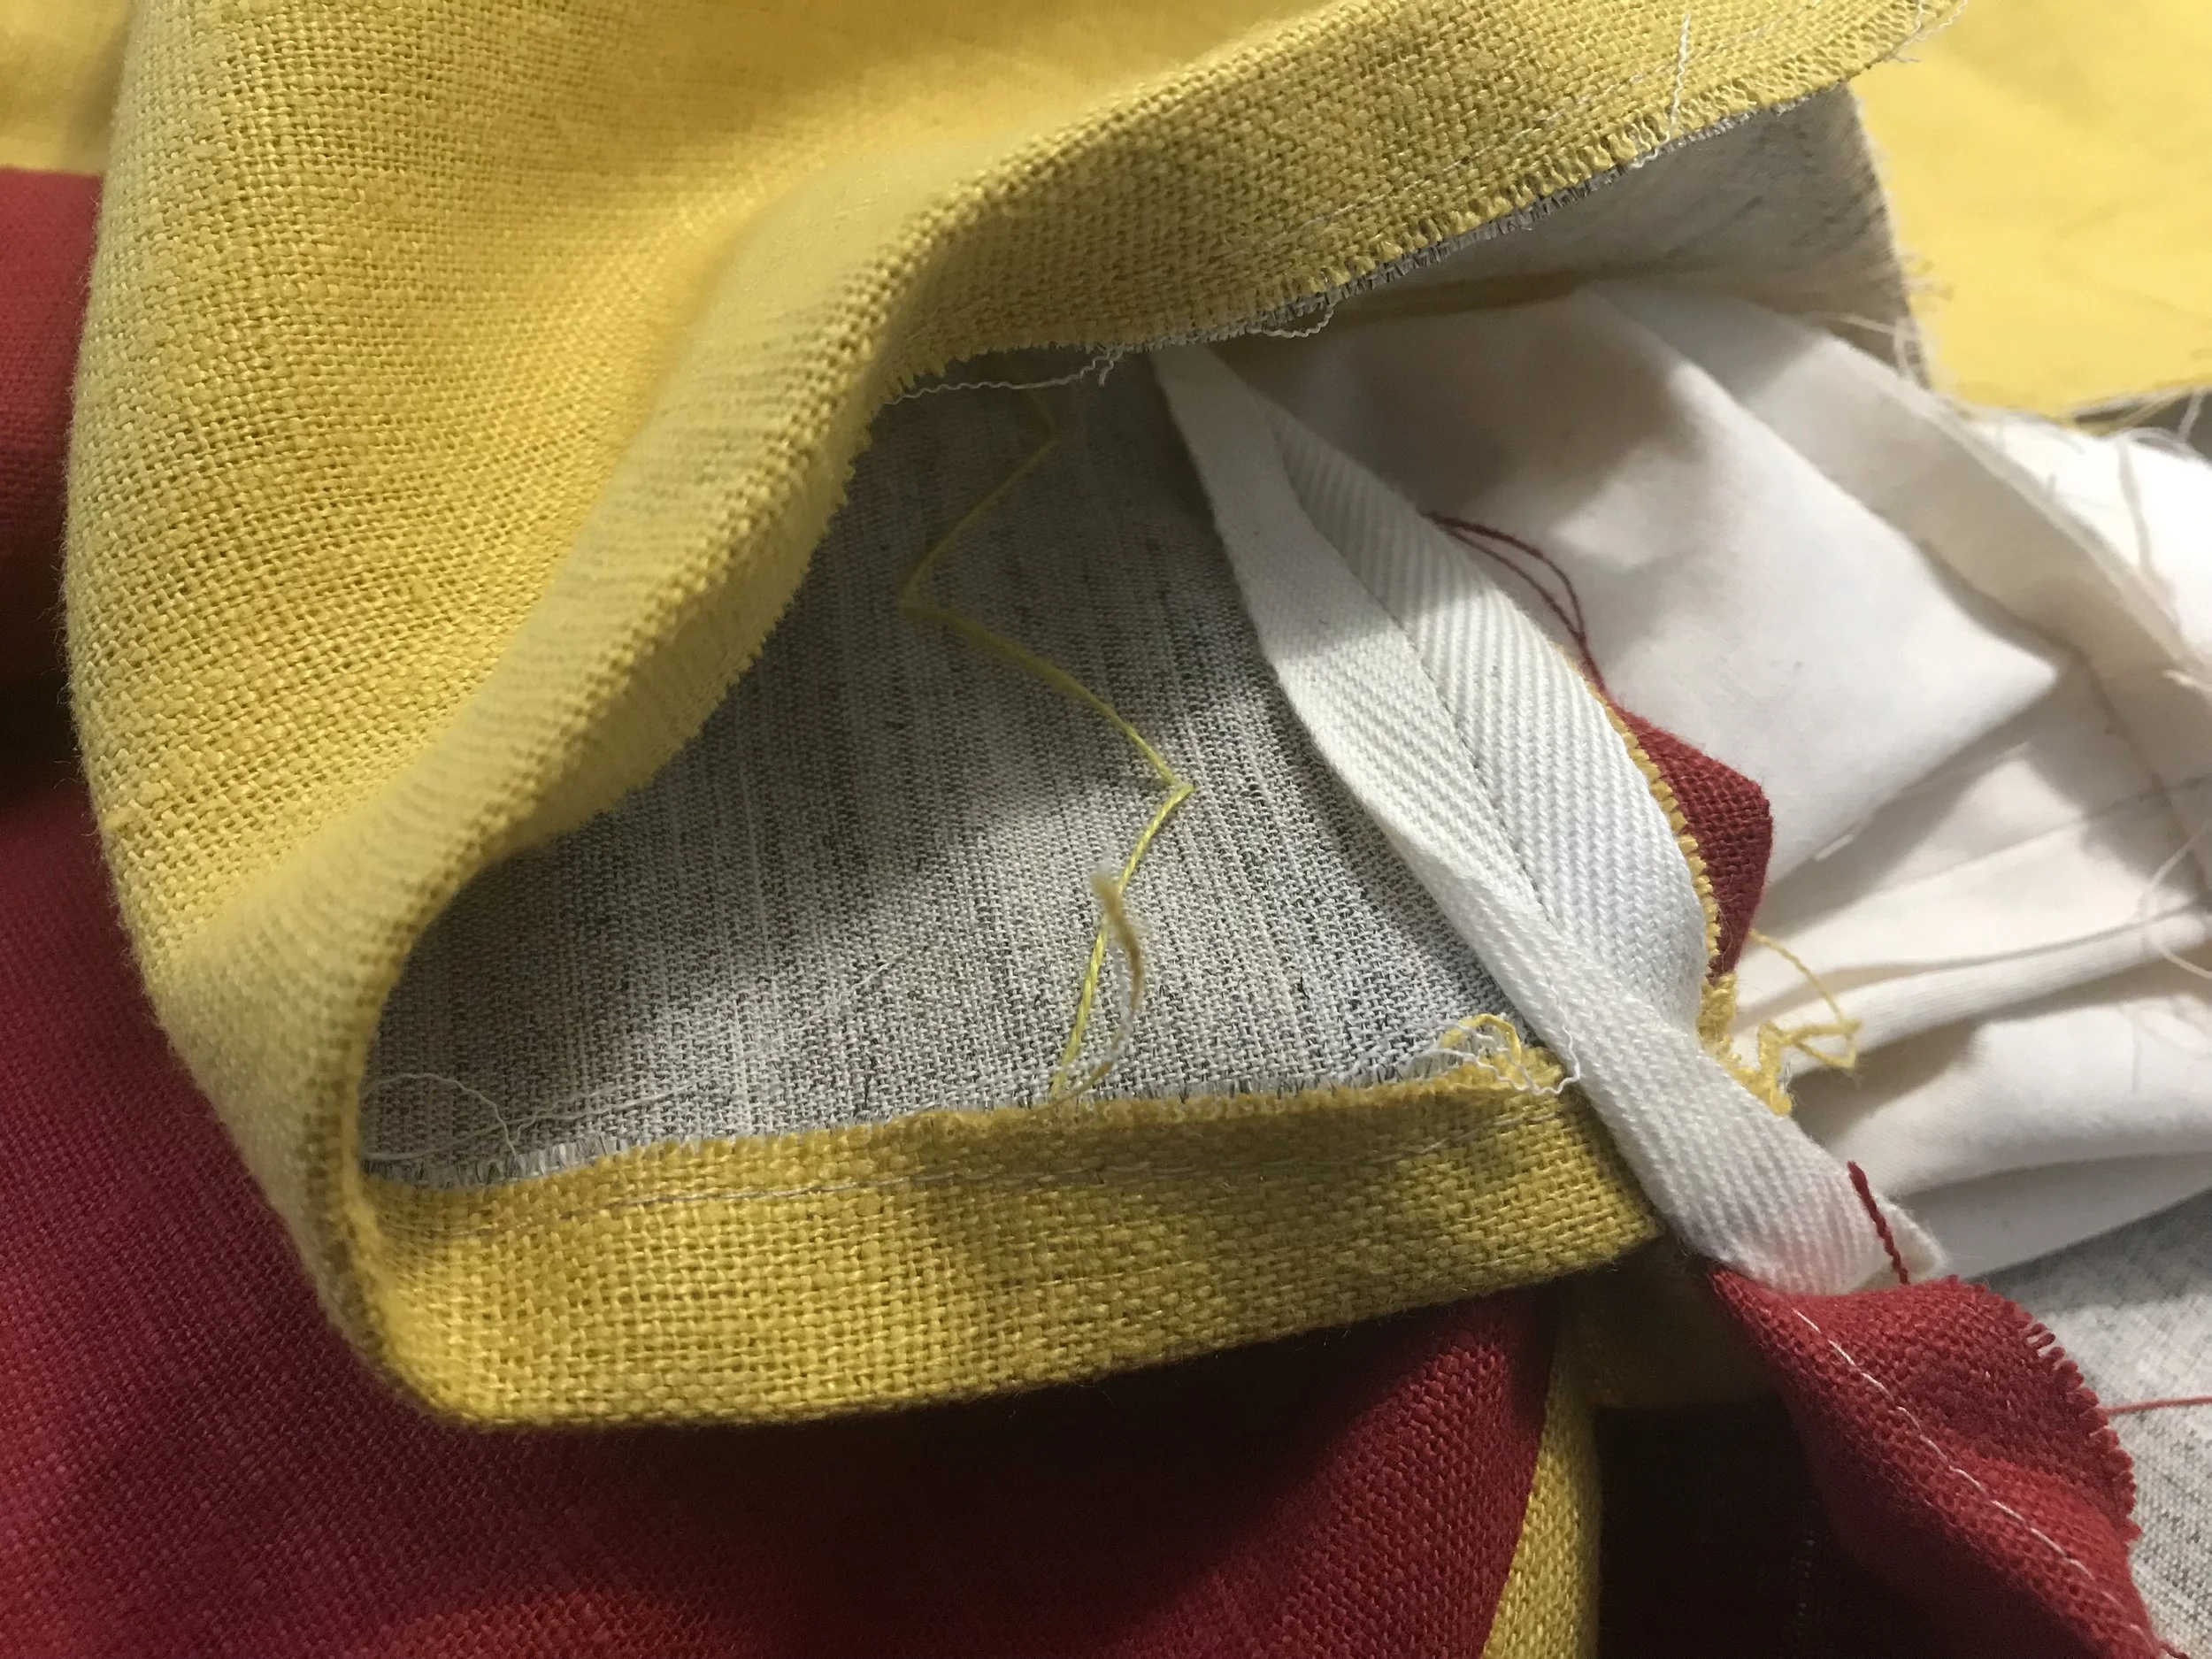
The tape strip around the quatered waist line - added for strength
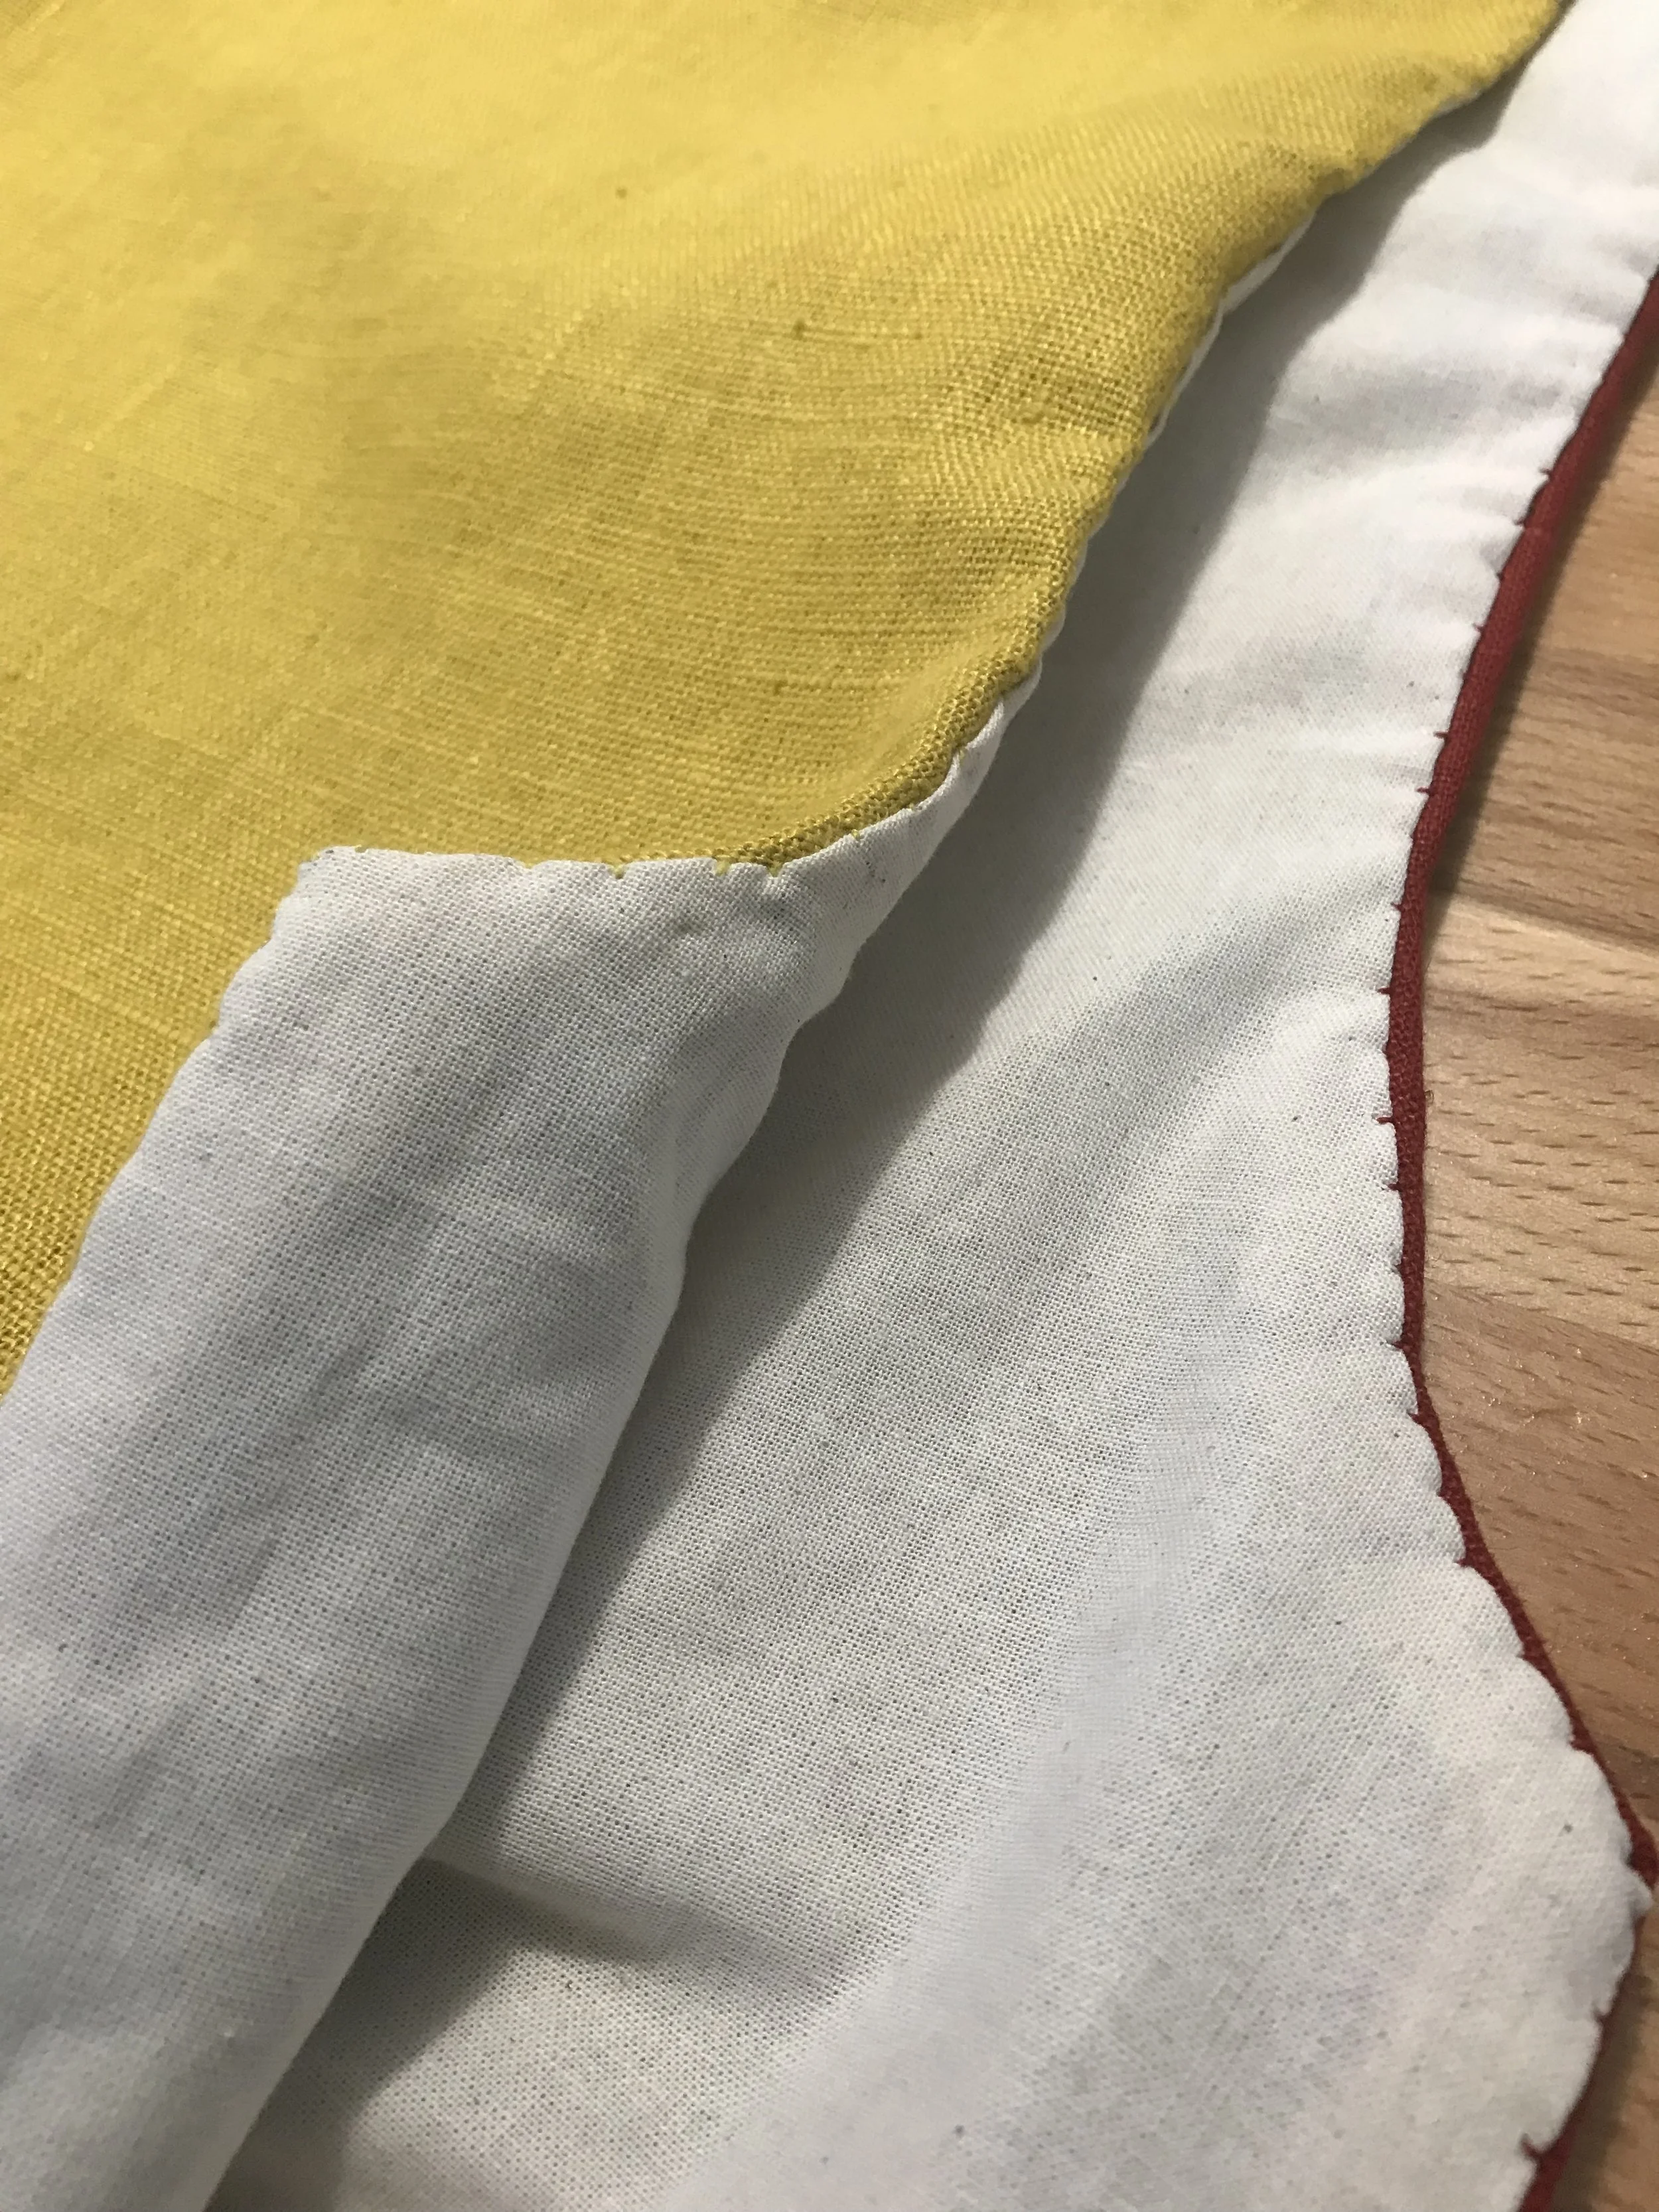
Linning stitched into the outer by hand
Since the armhole was extended down to the quarter line at the waist, I put some lacing holes at the change of direction shown in the photo above. These are not shown here or on the final photo below but allow the cote to be fastened around the chest using arming points. This cannot be done by the wearer, so clearly a squire is needed to assist in dressing the knight!
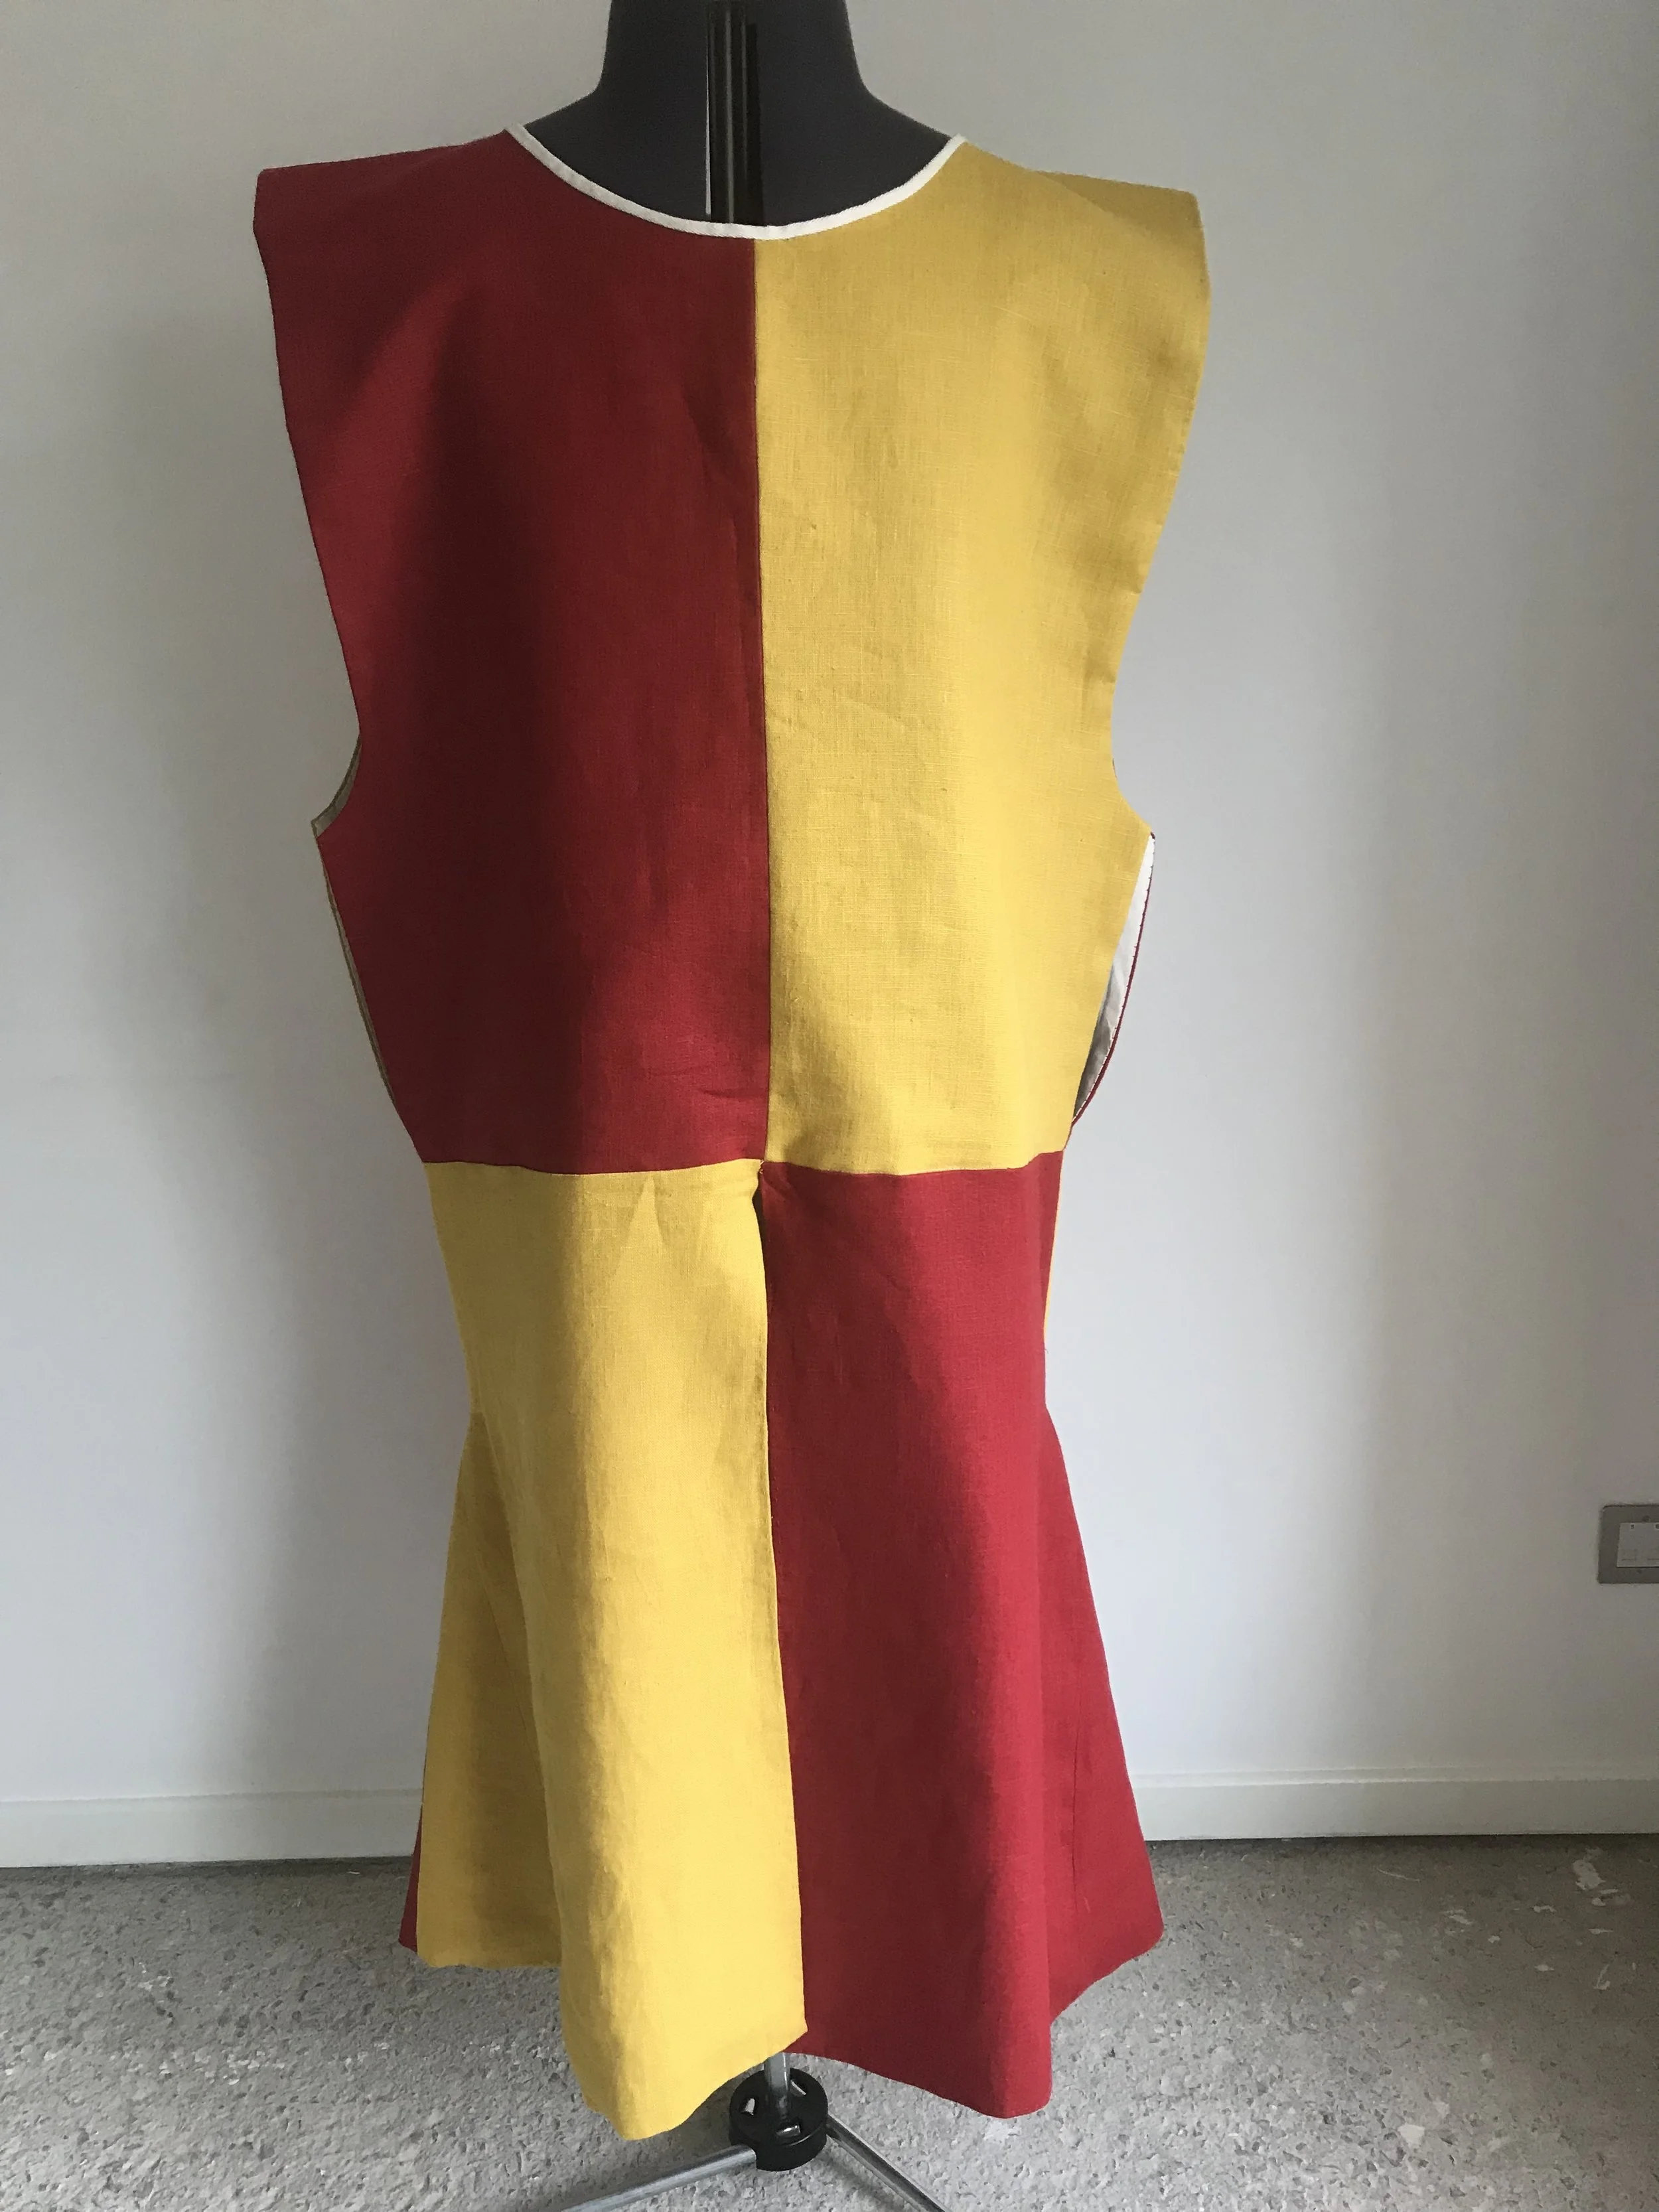
The finished article - but the model is not wearing armour so it does not look right yet.
The finished surcote will not be worn for real until later in the year, when we will find out just how practical the design is in battle and whether it provides the required identification as well as the “posh” factor for its new owner!
I really enjoyed working on this garment and look forward to doing more, as well as finding out more about how tailors originally solved all these problems that I tackled from a modern view point.